

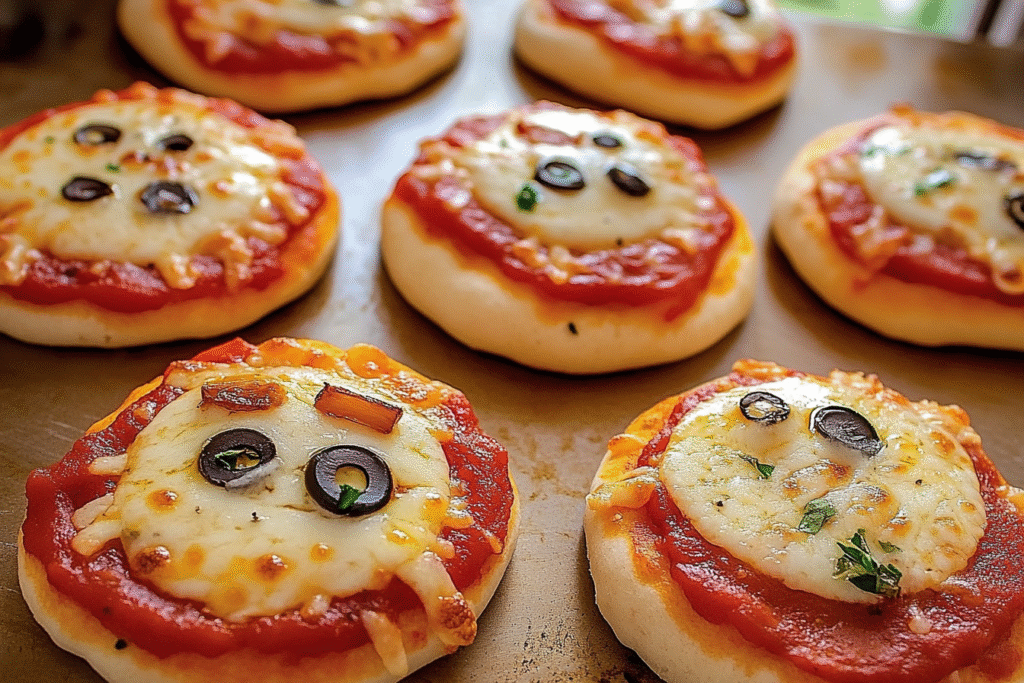
These Easy Homemade Mini Pizzas are a fun, customizable meal perfect for busy weeknights, picky eaters, and tiny tummies. Quick to make and endlessly versatile, they turn everyday ingredients into cheesy, bite-sized delights. Whether you’re packing lunchboxes, prepping an after-school snack, or planning a weekend cooking activity with the kids, mini pizzas are always a hit. You don’t need fancy tools or complicated dough—just simple pantry staples and your favorite toppings. In this post, we’ll guide you through how to make them step-by-step, store leftovers, reheat like a pro, and add your creative touch.
Why You’ll Love This Mini Pizzas for Kids
Mini pizzas are easy, fast, and loved by everyone—especially kids! You’ll love how flexible the recipe is: use store-bought dough, pita bread, English muffins, or even tortillas as a base. Add your favorite toppings, bake for a few minutes, and dinner is done. They’re also great for meal prep—freeze them for later or make a batch for quick lunches throughout the week. Best of all, kids can help make them, giving you a fun way to involve them in the kitchen and encourage healthy eating. With no pork, salami, or alcohol-based ingredients, these are family-friendly and totally customizable.
What You’ll Need
You don’t need anything fancy to make these mini pizzas—just a few basic ingredients and your favorite toppings! Here’s what you’ll want to have on hand:
Base Options (choose one):
- Mini naan breads
- English muffins (split in half)
- Small tortillas
- Refrigerated biscuit dough (flattened into rounds)
Pizza Sauce:
- ½ cup tomato sauce or marinara (low-sodium if preferred)
- 1 tsp Italian seasoning (or dried basil and oregano)
- ½ tsp garlic powder (optional)
Cheese:
- 1 to 1½ cups shredded mozzarella
- Optional: sprinkle of parmesan (skip if avoiding added salt)
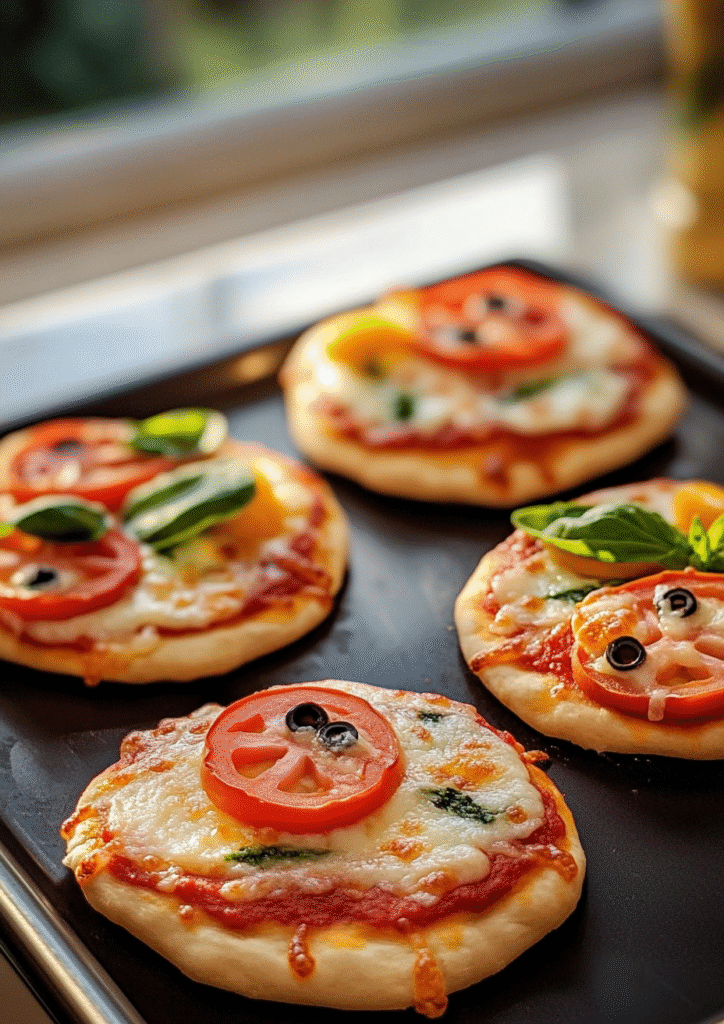
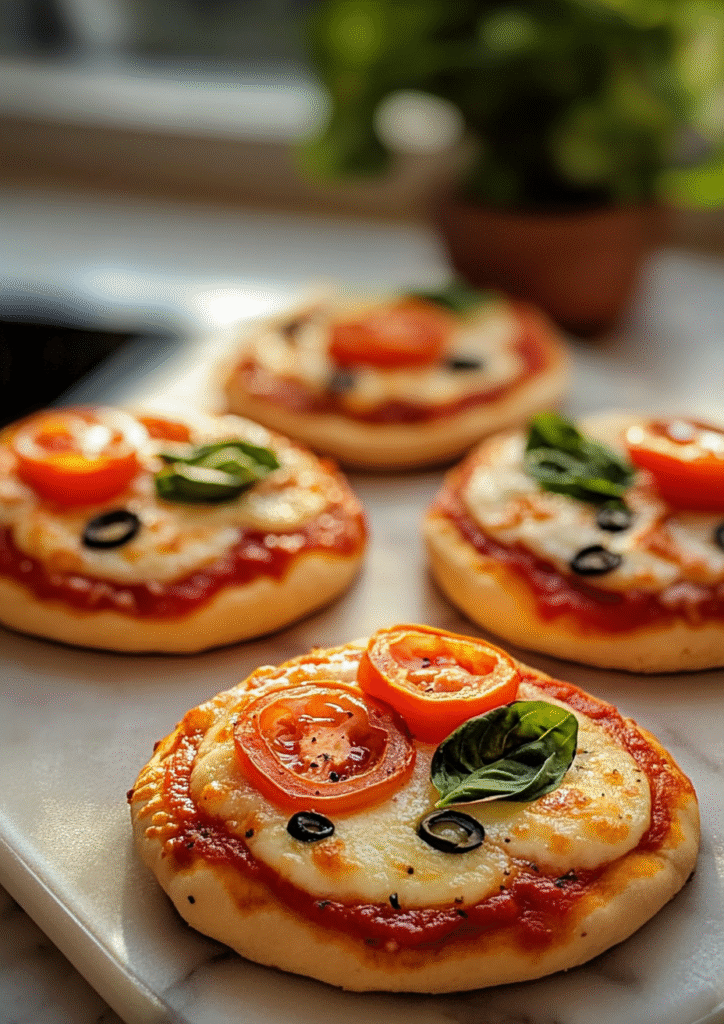
Toppings (mix and match):
- Bell peppers (diced)
- Mushrooms (sliced)
- Cherry tomatoes (halved)
- Cooked chicken or turkey (shredded)
- Black olives (sliced)
- Pineapple chunks
- Red onion (thinly sliced)
- Spinach or kale (chopped)
You can add or swap toppings based on dietary needs—no pork, salami, or alcohol-based ingredients needed. Keep it colorful, fresh, and fun!
How to Make Mini Pizzas for Kids
Here’s a quick, step-by-step guide to making these mini pizzas at home:
Ingredients (makes 6 mini pizzas):
- 6 mini naan breads or English muffin halves
- ½ cup pizza or marinara sauce
- 1 tsp Italian seasoning
- 1½ cups shredded mozzarella cheese
- ½ cup assorted toppings (peppers, mushrooms, etc.)
Instructions:
- Preheat oven to 400°F (200°C). Line a baking sheet with parchment paper.
- Prepare sauce: In a small bowl, mix pizza sauce with Italian seasoning and garlic powder (if using).
- Assemble pizzas: Place the bases on the baking sheet. Spread 1 to 2 tablespoons of sauce on each one.
- Add cheese: Sprinkle a generous amount of mozzarella over the sauce.
- Add toppings: Let the kids help! Add diced veggies, cooked meats, or whatever you love.
- Bake: Place in the oven and bake for 8–10 minutes, or until the cheese is melted and bubbly.
- Cool & serve: Let cool for a few minutes before serving.
That’s it! A super simple meal, ready in under 20 minutes.
You Must Know
Before you start making your mini pizzas, here are a few important things to keep in mind to make the process smooth and stress-free:
1. Use a sturdy base: Soft breads like naan or English muffins hold toppings best. Thin wraps or tortillas work too but can get crispy fast—watch the bake time closely.
2. Don’t overload with toppings: Too many toppings can lead to soggy or undercooked pizzas. Stick to a thin layer of sauce, a moderate amount of cheese, and a few toppings per pizza.
3. Pre-cook certain ingredients: Veggies like mushrooms, spinach, or onions release moisture when baking. Sauté them briefly before adding if you want a less soggy result. Always use fully cooked meats.
4. Kid-safe tools help: If your little ones are helping, use child-safe pizza cutters or butter knives for spreading. It keeps things safe and fun!
5. Watch for allergens: Use dairy-free cheese or gluten-free bases if needed. This recipe is flexible for all kinds of dietary needs.
These tips help make prep faster and cleanup easier—plus they make sure the pizzas turn out just right every time!
Perfecting the Cooking Process
Mini pizzas are easy, but a few small tricks make them extra delicious:
1. Preheat your oven fully: A hot oven ensures a crispy base and melty cheese. Bake at 400°F and don’t rush this step—it really matters!
2. Use a lined baking sheet or pizza stone: Parchment paper prevents sticking, and a pizza stone gives a crispier finish. A muffin tin can even be used for deep-dish-style mini pizzas.
3. Bake in the middle rack: It allows even heat distribution, so the cheese melts while the bottom crisps. If using thin bases like tortillas, keep an eye on them—they cook quickly.
4. Try broiling for a golden top: Once fully baked, broil for 1–2 minutes if you want that bubbly, golden cheese effect. Just don’t walk away—it goes fast!
5. Let them rest before serving: Cooling for a couple of minutes after baking makes them easier to hold and prevents burns—especially for little mouths.
Mastering these simple steps means your mini pizzas will come out perfect every time: crispy, cheesy, and full of flavor!
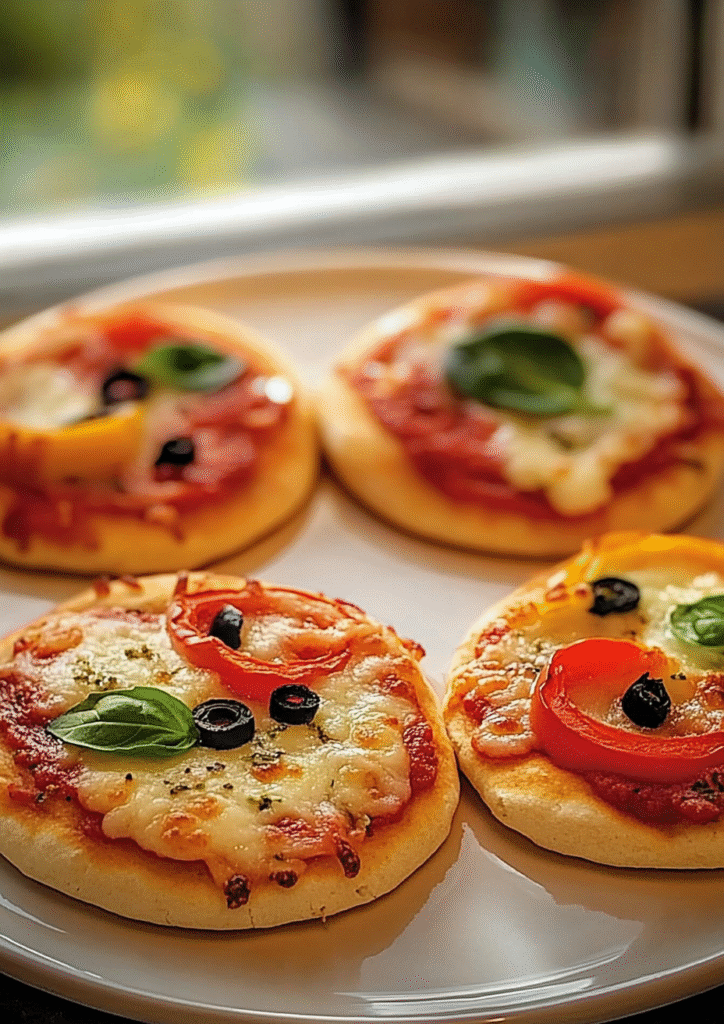
Add Your Touch Mini Pizzas for Kids
One of the best parts about mini pizzas is how easily you can make them your own. Here are some fun and tasty ways to personalize the recipe:
1. Try new bases: Swap naan or English muffins with mini bagels, whole wheat pita, or even slices of zucchini or sweet potato for a low-carb twist.
2. Make it themed: Create “rainbow pizzas” with colorful veggies for picky eaters. Or go with a breakfast version—use scrambled eggs, spinach, and mild cheddar on a tortilla base.
3. Experiment with sauces: Don’t stop at classic tomato! Try pesto, garlic butter, mashed avocado, or even hummus as a base sauce for extra flavor.
4. Use fun toppings: Let the kids choose from chopped veggies, cooked ground turkey, diced chicken, pineapple, olives, or even corn. Set up a mini “pizza bar” for a build-your-own night.
5. Make it educational: Let little ones learn shapes, colors, and portion control by assembling their own pizzas. It turns dinner into a fun activity that encourages creativity and healthier choices.
Personalizing mini pizzas is part of the fun—and it means everyone at the table gets exactly what they like.
Storing & Reheating
Got leftovers? No problem! These mini pizzas store and reheat beautifully:
Here’s a crowd-pleaser you can whip up fast.
To Store:
- Refrigerate: Place cooled mini pizzas in an airtight container and store in the fridge for up to 3 days.
- Freeze: Lay them flat on a tray until frozen, then transfer to a freezer bag. Store for up to 2 months.
To Reheat:
- Oven: Bake at 350°F for 5–8 minutes until warm and the cheese is bubbly. This keeps the base crispy.
- Toaster oven: Great for quick reheats—2–4 minutes on medium heat.
- Microwave: Works in a pinch (about 30–45 seconds), but the crust may be softer.
Pro Tip: For frozen pizzas, no need to thaw first. Just add an extra couple of minutes to the baking time.
These storage and reheating tips make mini pizzas a smart choice for meal prepping, lunchboxes, or quick after-school snacks.
Chef’s Helpful Tips for Mini Pizzas for Kids
Here are some expert tricks to make your mini pizzas even better every time:
1. Toast the base first: Lightly toast naan or English muffins in the oven for 2–3 minutes before adding sauce. This prevents sogginess and gives a crispier bottom.
Try this fun twist on a classic dish next time.
2. Shred your own cheese: Pre-shredded cheese contains anti-caking agents that can prevent smooth melting. Shredding fresh mozzarella gives that gooey, stretchy effect everyone loves.
3. Use room temperature ingredients: Cold sauce or toppings can slow cooking and make your pizzas uneven. Let everything sit out for 10 minutes before assembling.
4. Don’t skip the seasoning: A sprinkle of Italian herbs, garlic powder, or red pepper flakes (for adults) can boost flavor without adding salt or spice overload for kids.
5. Get the kids involved: Little ones can help spread sauce, sprinkle cheese, and add toppings. It’s a great way to teach kitchen skills and build excitement about mealtime.
These little changes make a big difference, turning a simple recipe into a favorite family tradition.
FAQ for Mini Pizzas for Kids
Can I use homemade dough instead of store-bought bases?
Absolutely! Roll homemade dough into small circles, pre-bake them for 5 minutes at 400°F, then add toppings and finish baking.
Are these pizzas freezer-friendly?
Yes! Once baked and cooled, freeze in a single layer, then store in a freezer bag. Reheat directly from frozen for an easy meal later.
Here’s another family-friendly dinner to try next.
What can I use instead of tomato sauce?
Try pesto, garlic yogurt sauce, hummus, or mashed avocado. These add flavor and variety without being spicy or overwhelming.
Can I make them dairy-free?
Yes! Use dairy-free shredded cheese alternatives made from almond, soy, or coconut. They melt well and taste great.
What age are these suitable for?
Mini pizzas are perfect for toddlers and up. For younger kids, use softer bases like tortillas and cut pizzas into small, easy-to-hold pieces.
How do I pack these for lunch?
Let them cool completely, then wrap in foil or place in a bento-style box. Include a napkin—they’ll want to dive right in!
Conclusion
Easy Homemade Mini Pizzas are more than just a meal—they’re a fun, family-friendly experience that brings everyone to the table. With simple ingredients, endless topping options, and a quick bake time, they’re perfect for busy weeknights, lunchboxes, or weekend cooking with kids. This recipe is flexible, mess-free, and can be adjusted to fit your family’s tastes and dietary needs—without using pork, salami, or alcohol-based ingredients.
Whether you’re making them from scratch or using store-bought shortcuts, these mini pizzas deliver big flavor in every bite. Kids love building their own versions, and parents love how easy they are to make and store. Try them once, and you’ll see—they’re a guaranteed hit for tiny bellies and grown-up appetites alike.
How to Make Easy Homemade Mini Pizzas for Tiny Bellies
Description
These easy mini pizzas are perfect for tiny hands and busy days! Made in minutes with your favorite toppings, they’re a fun and customizable meal for kids and adults alike. Great for lunchboxes, snacks, or dinner.
Ingredients
Instructions
Preheat oven to 400°F (200°C).
Lay mini bases on a lined baking sheet.
Spread 1–2 tbsp of sauce on each.
Sprinkle cheese and desired toppings.
Bake for 8–10 minutes, until cheese is bubbly.
Let cool slightly, then serve warm.
Notes
- Use whole-wheat bases for added fiber.
Add veggies like spinach or mushrooms for a nutrition boost.
Kids can help build their own pizzas—perfect hands-on fun!
To store, refrigerate leftovers for up to 3 days or freeze for later.