
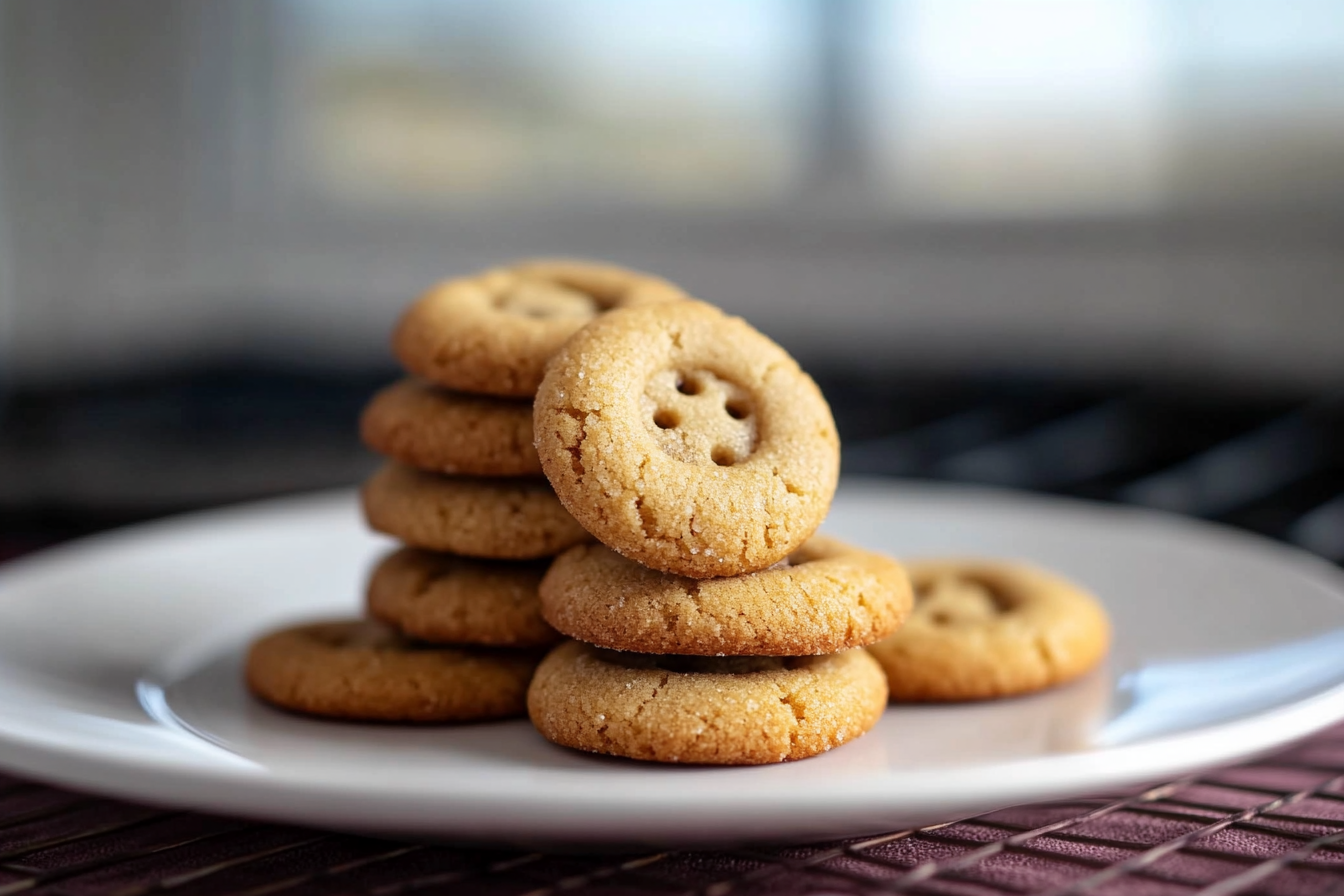

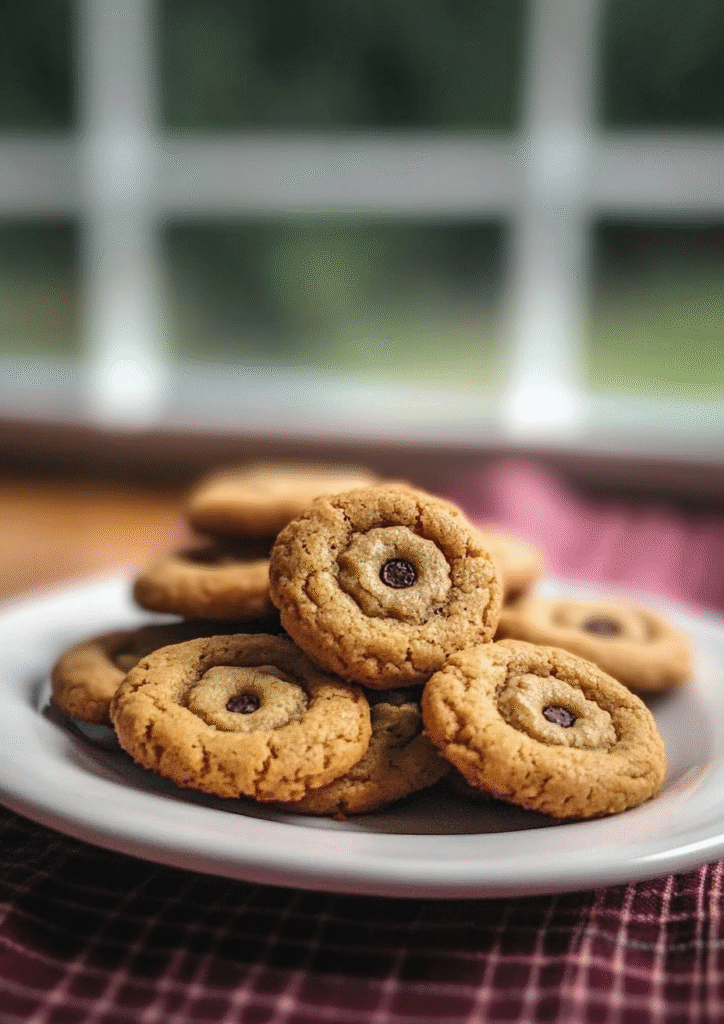
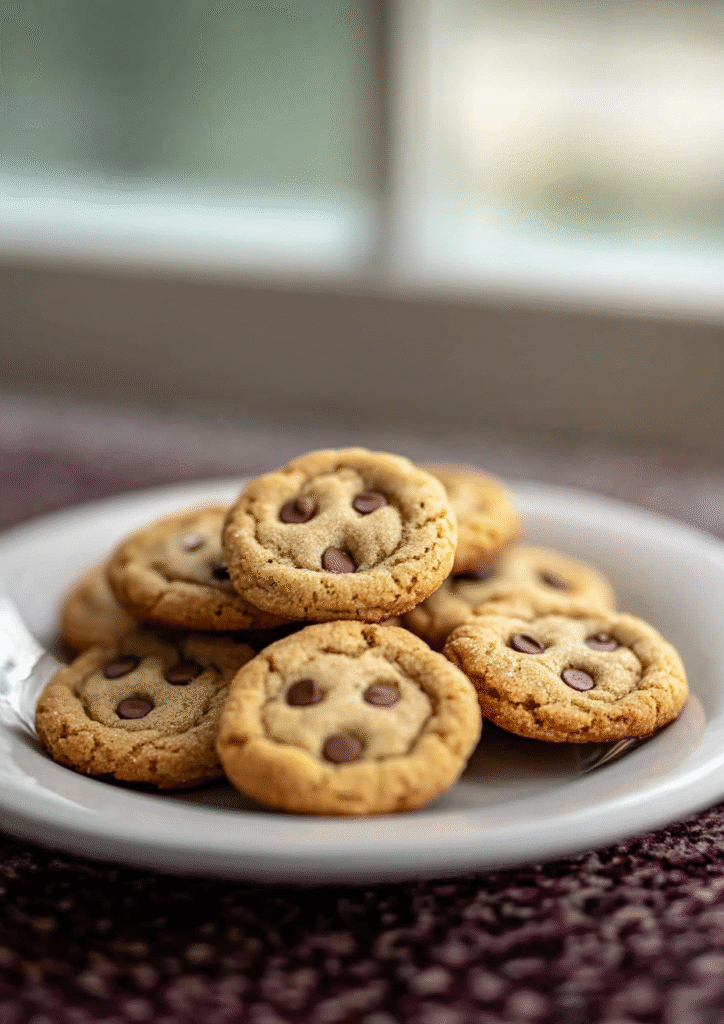
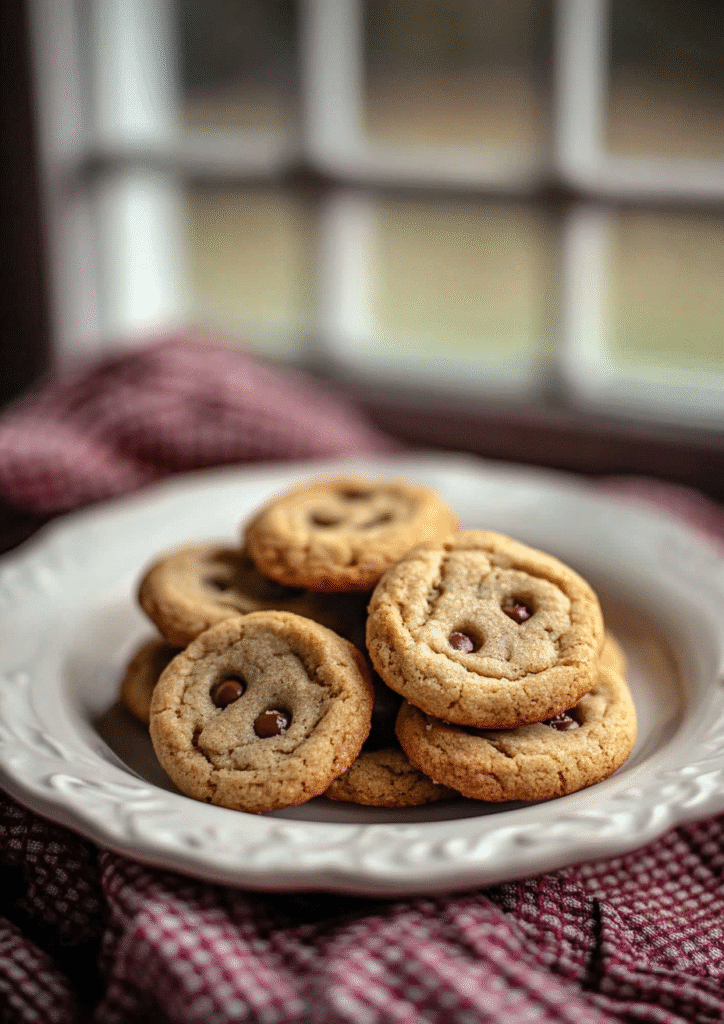
If you’re looking for a fun, eye-catching treat that’s perfect for any occasion, Button Cookies Recipe are a must-try. These adorable, bite-sized cookies look just like tiny buttons, making them a whimsical addition to any dessert table. Perfect for parties, bake sales, or a cozy baking day with the kids, they’re as delightful to make as they are to eat.
Made with simple pantry ingredients and shaped using just a straw and cookie cutter, these cookies offer the perfect balance of buttery sweetness and crisp texture. They’re easily customizable with different flavors or colors, so you can make them match any season or celebration.
Why You’ll Love This Button Cookies Recipe
There’s a lot to love about these Button Cookies—they’re cute, easy, and incredibly versatile. Their unique look is a showstopper, but it’s the crisp texture and buttery flavor that keeps people coming back for more. These cookies are also a great canvas for creativity: add vanilla, citrus zest, or natural food coloring to make them your own.
They come together quickly with ingredients you likely already have. No chilling or fancy tools required—just roll, cut, and bake. Kids especially enjoy helping with these, from cutting the dough to punching the “buttonholes.”
Another bonus? They store well, freeze beautifully, and make charming gifts. Pop them into jars, wrap in treat bags, or add to cookie boxes—they travel well and stay fresh for days. For a treat that’s both playful and practical, these cookies are the perfect pick.
What You’ll Need
To make these charming button cookies, you’ll need just a few pantry staples:
- 1 cup unsalted butter, softened
- 3/4 cup powdered sugar
- 1 large egg yolk
- 1 tsp vanilla extract
- 2 cups all-purpose flour
- Pinch of salt
- Optional: natural food coloring or cocoa powder for variety
You’ll also need a round cookie cutter and a straw or skewer to make the button holes.
How to Make Button Cookies Recipe
- Preheat oven to 350°F (175°C). Line a baking sheet with parchment paper.
- In a bowl, cream butter and powdered sugar until smooth.
- Add egg yolk and vanilla, mix well.
- Stir in flour and salt until a soft dough forms.
- Divide dough if coloring, and mix in your natural food coloring or cocoa.
- Roll dough to 1/4-inch thick. Cut into small circles.
- Use a straw to poke four “buttonholes” in each cookie.
- Place on baking sheet and bake for 10–12 minutes, until edges are lightly golden.
- Cool completely before serving.
You Must Know
Before diving in, here are a few key things to keep in mind. Use softened butter, not melted—this keeps the dough stable and the cookies crisp. If your dough feels sticky, chill it for 10–15 minutes before rolling. When using food coloring, opt for gel or natural powders to avoid over-softening the dough.
Also, don’t skip the step of poking the buttonholes before baking. They may close slightly in the oven, so make them deep and clear. Keep an eye on bake time—overbaking makes them too hard, underbaking leaves them pale and soft. They should be just lightly golden on the bottom.
Lastly, this dough holds its shape well, so your buttons will look neat and clean even after baking—just be sure to roll evenly for consistent results.
Perfecting the Cooking Process
Baking perfect button cookies is all about consistency and timing. Roll your dough to the same thickness—about 1/4 inch—for even baking. Use a ruler or guide sticks if needed. Space cookies at least an inch apart on the baking sheet to allow even airflow.
Always preheat your oven fully. A too-cool oven can lead to spreading or uneven cooking. Bake in the center rack for best heat circulation. If baking multiple trays, rotate them halfway through for even color and crispness.
Let the cookies cool on the tray for a few minutes before moving them—they firm up as they cool. Then transfer to a wire rack to avoid soggy bottoms. Once cool, store or decorate as desired.
Add Your Touch for Button Cookies Recipe
One of the best things about button cookies is how easily you can customize them. Want a colorful batch? Add natural food coloring like beet powder for pink or matcha for green. For flavor variety, mix in lemon zest, almond extract, or a touch of cinnamon.
You can also play with size—use different round cutters for mini or jumbo buttons. Add a light glaze, dust with powdered sugar, or sandwich two cookies with jam or chocolate spread for a fun twist. These cookies also make beautiful gifts—wrap them in clear bags with ribbon for party favors or holiday treats.
Get the kids involved too! Let them help shape, color, or poke the holes. It’s a hands-on way to make memories and a creative baking activity everyone will enjoy.
Storing & Reheating for Button Cookies Recipe
Once baked and cooled, store button cookies in an airtight container at room temperature. They stay fresh and crisp for up to one week. For longer storage, freeze them in a sealed container or freezer bag for up to 2 months. Just thaw at room temperature when ready to enjoy.
Don’t miss these kitchen favorites
Avoid storing them in humid areas or the fridge—they can absorb moisture and lose their crisp texture. Reheating isn’t necessary, but if you want to refresh their crunch, pop them in a 300°F oven for 3–4 minutes.
Make-ahead tip: You can freeze the raw dough in discs, wrapped well, and thaw in the fridge overnight before baking.
Chef’s Helpful Tips Button Cookies Recipe
Want flawless button cookies every time? Start with room-temperature butter—it blends better for a smooth, even dough. Be sure to measure flour correctly by spooning it into your measuring cup and leveling it off. Too much flour leads to dry cookies.
When cutting the dough, dip your cutter in flour to prevent sticking and ensure clean edges. For sharp “buttonholes,” press your straw firmly and give it a gentle twist before lifting. If the dough gets soft while working, chill it briefly to make shaping easier.
Try this easy and flavorful dish next
Use parchment paper or a silicone baking mat for even baking and easy cleanup. And for consistent results, bake a test cookie first—adjust oven time or dough thickness as needed before committing to the full batch.
Don’t rush cooling! Let cookies sit on the pan a few minutes before moving. Warm cookies are fragile and may break if handled too soon.
FAQ for Button Cookies Recipe
Can I make these cookies gluten-free?
Yes! Use a 1:1 gluten-free flour blend. Just make sure it includes xanthan gum for binding.
Discover more delicious recipes here
Can I add chocolate or sprinkles?
Absolutely. Mix in mini chocolate chips, colorful sugar sprinkles, or drizzle with melted chocolate after baking.
Do I need to chill the dough?
Not always—but if your kitchen is warm or the dough feels sticky, a 15-minute chill helps with shaping.
How long do they last?
Stored properly, they stay fresh for up to a week at room temp, or 2 months frozen.
Can kids help with this recipe?
Definitely! It’s a fun, hands-on project. Kids love cutting shapes and poking the “button” holes.
Conclusion
Button Cookies are more than just a treat—they’re a fun, creative way to bring joy to your kitchen. Whether you’re baking with kids, preparing gifts, or simply indulging your sweet tooth, these charming cookies hit the mark every time. With their buttery flavor, crisp texture, and customizable look, they’re sure to become a family favorite.
They’re easy to make, require simple ingredients, and can be tailored to suit any holiday or event. From everyday snacking to special occasions, button cookies add a personal, playful touch that guests won’t forget.
So go ahead—grab your favorite cookie cutter, get the straw ready, and make a batch of these delightful little buttons. With a recipe this fun and flexible, you’ll always have a reason to bake (and share) something sweet!
How to Make Delightful Button Cookies – A Sweet Treat for Every Occasion
Description
These adorable button cookies are crisp, buttery, and perfect for parties, holidays, or baking with kids. Simple to make and fun to customize with colors or flavors!
Ingredients
Instructions
Preheat oven to 350°F (175°C).
Cream butter and sugar. Add egg yolk and vanilla; mix.
Add flour and salt to form soft dough.
Roll dough to 1/4 inch, cut circles, and make buttonholes with a straw.
Bake for 10–12 minutes until lightly golden. Cool before serving.
Notes
- For colorful buttons, mix in natural food coloring.
Chill dough if too soft to handle.
Store in an airtight container for up to 1 week.