
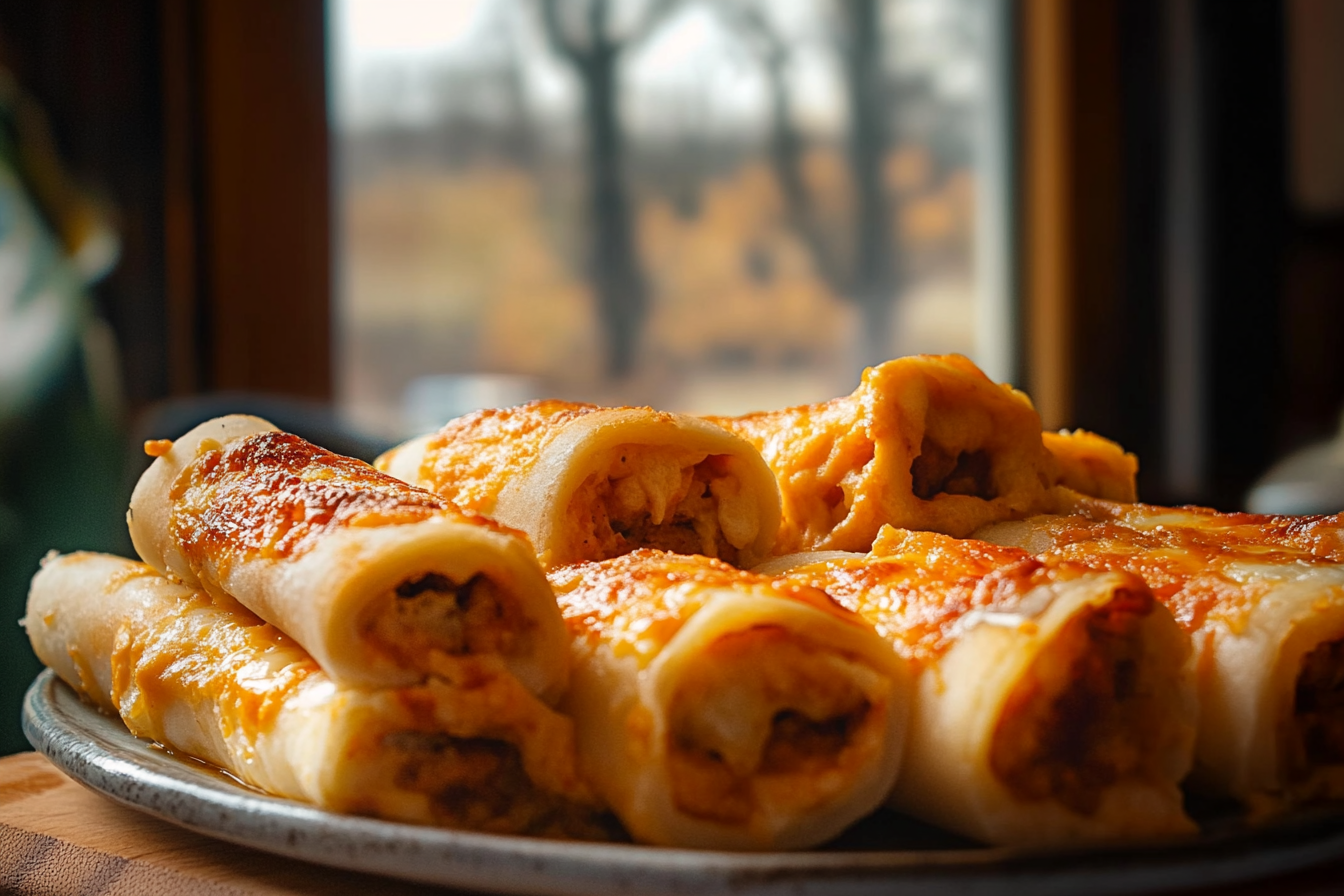

Grilled Cheese Roll-Ups are a fun, tasty twist on the classic grilled cheese sandwich—crispy on the outside, melty on the inside, and made with just a few simple ingredients. Perfect as a quick snack, easy lunch, or kid-friendly dinner, these roll-ups are ready in minutes and don’t require fancy tools or complicated steps. Whether you’re packing school lunches or whipping up a quick bite between meetings, these cheesy bites always hit the spot.
This recipe takes everything we love about grilled cheese—comfort, flavor, and nostalgia—and makes it even more convenient. Dip them in tomato soup, serve them at parties, or enjoy them on their own. They’re crisp, golden, buttery, and endlessly customizable.
Why You’ll Love This Grilled Cheese Roll-Ups
These roll-ups are quick, crispy, cheesy, and totally crave-worthy. Made with pantry staples like sliced bread, cheese, and butter, they come together in 10–15 minutes with minimal cleanup. Kids adore them, adults devour them, and they’re great for everything from lunchboxes to game-day snacks.
You’ll love how versatile they are—stick to classic cheese or switch things up with shredded mozzarella, cheddar-jack, or even sliced turkey. They’re handheld, dippable, and reheat beautifully. Plus, they help use up leftover bread or cheese, making them a smart, zero-waste option for busy households.
What You’ll Need
You only need a few everyday ingredients to make these cheesy roll-ups, and chances are, you already have them in your kitchen. Here’s a quick look at the basics:
- Sliced Bread – Use soft sandwich bread; white or whole wheat both work well. Trim the crusts for easier rolling.
- Cheese – Classic American cheese slices melt beautifully, but cheddar, mozzarella, or provolone also work great.
- Butter – Softened, for spreading on the outside of each roll-up to give that golden, crispy finish.
- Optional Dips – Tomato soup, marinara, or ranch dressing for serving on the side.
Feel free to add your personal touch with extras like garlic powder, dried herbs, or even thin slices of cooked chicken. Just avoid ingredients that overpower or leak excess grease.
How to Make Grilled Cheese Roll-Ups
Here’s a simple step-by-step to get these roll-ups on your plate fast:
Ingredients:
- 8 slices sandwich bread (crusts removed)
- 8 slices cheese (American, cheddar, or your favorite meltable kind)
- 2 tablespoons softened butter
Instructions:
- Flatten the Bread: Use a rolling pin or your hands to flatten each slice of bread.
- Add Cheese: Place one slice of cheese (or a few tablespoons of shredded cheese) on each piece of bread.
- Roll It Up: Tightly roll each slice into a log.
- Butter the Outside: Spread a thin layer of softened butter on the outside of each roll.
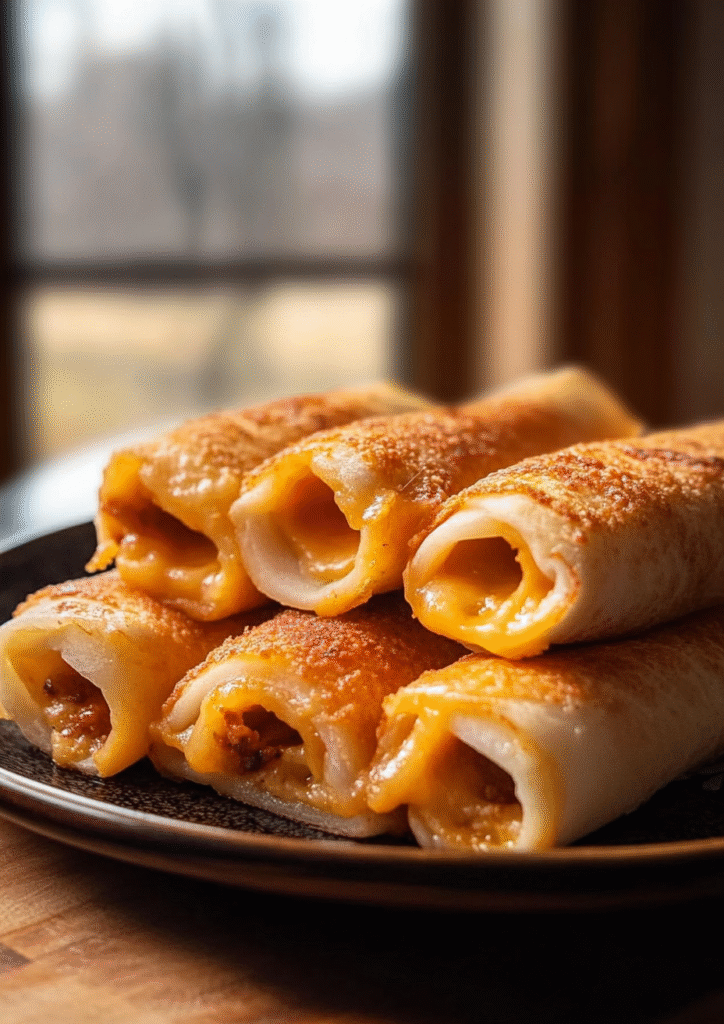
- Cook: Heat a skillet over medium heat. Place roll-ups seam-side down and cook for 2–3 minutes per side, turning until all sides are golden brown and the cheese is melted.
Serve warm with your favorite dip or alongside soup for a satisfying meal or snack.
You Must Know
Before diving in, there are a few key things to keep in mind to ensure your grilled cheese roll-ups turn out perfectly every time.
First, not all bread is equal. Soft, fresh sandwich bread rolls best without cracking. If the bread is too dry or thick, it won’t flatten easily and may tear. White bread is most flexible, but whole wheat can be used for a healthier twist.
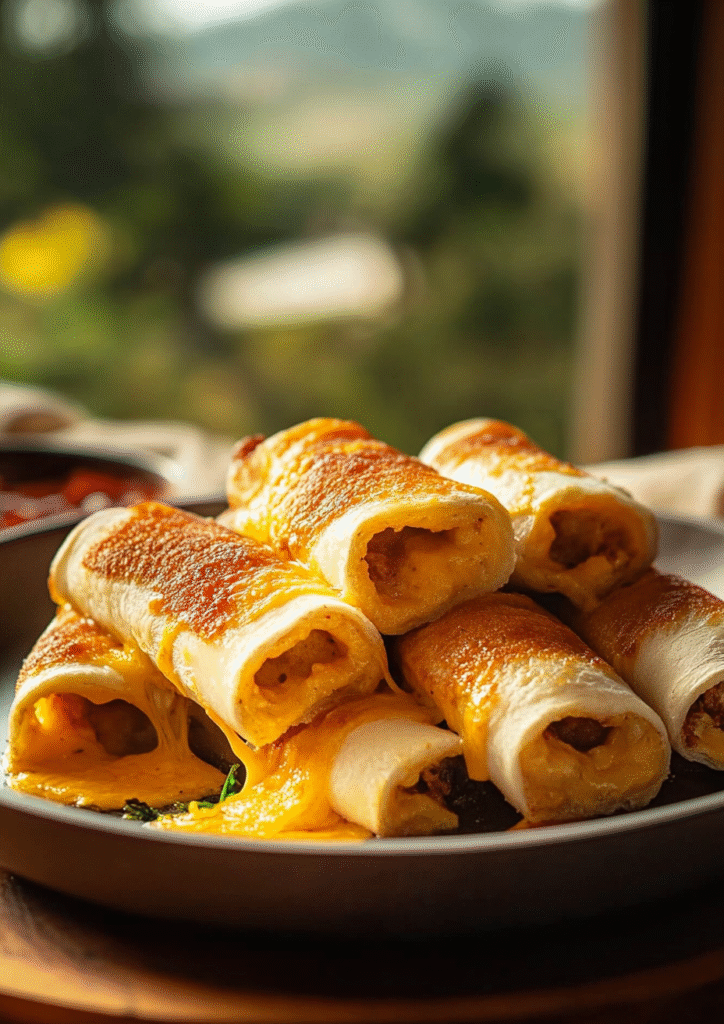
Second, the type of cheese matters. American cheese melts consistently and smoothly, making it a favorite for this recipe. However, other good choices include shredded mozzarella, Monterey Jack, or cheddar. Hard cheeses or low-moisture types (like Parmesan) don’t melt as well on their own, so mix them with a softer cheese if needed.
Next, always butter the outside of the roll-ups, not the pan. This ensures even browning and helps them crisp up beautifully. Softened butter spreads easier and prevents tearing the bread. If you’re looking for a dairy-free option, olive oil or vegan butter can be used instead.
Don’t skip removing the crusts. This step makes the bread easier to roll and helps keep the edges from getting too crunchy or tough. You can save the crusts for breadcrumbs or croutons later!
Finally, if you’re cooking for kids, consider using bite-sized cheese sticks or cutting the roll-ups in halves after cooking. This makes them more manageable for little hands and more fun to dip.
Perfecting the Cooking Process
Getting that perfect crispy, golden exterior with a melted, gooey center is all about attention to detail during the cooking process.
Start by preheating your skillet over medium heat. Too hot, and the bread will burn before the cheese melts. Too low, and the roll-ups won’t crisp properly. You want a gentle sizzle when the roll hits the pan—not a loud crackle.
Place the roll-ups seam-side down first. This helps them stay closed as they cook. Gently press them down with a spatula for even contact with the pan, and turn every 2–3 minutes until all sides are golden. This usually takes around 8–10 minutes in total.
Avoid overcrowding the pan. Cook in batches if needed so you can easily flip each roll-up and maintain even heat. If you’re feeding a crowd, keep finished roll-ups warm on a tray in a 200°F (93°C) oven while the rest cook.
Use nonstick or well-seasoned skillets to avoid sticking. If you’re using a stainless steel pan, consider brushing on a bit more butter or oil between batches.
For extra crispiness, you can lightly toast the flattened bread before adding the cheese, or sprinkle grated Parmesan on the buttered side before cooking.
Want a little more texture? Try brushing the outside with garlic butter or adding a sprinkle of Italian seasoning before toasting.
Add Your Touch Grilled Cheese Roll-Ups
Grilled Cheese Roll-Ups are easy to personalize! Try different cheeses like cheddar, mozzarella, or Pepper Jack for a twist. Want protein? Add thin slices of turkey or cooked chicken—just avoid greasy meats to keep them crisp.
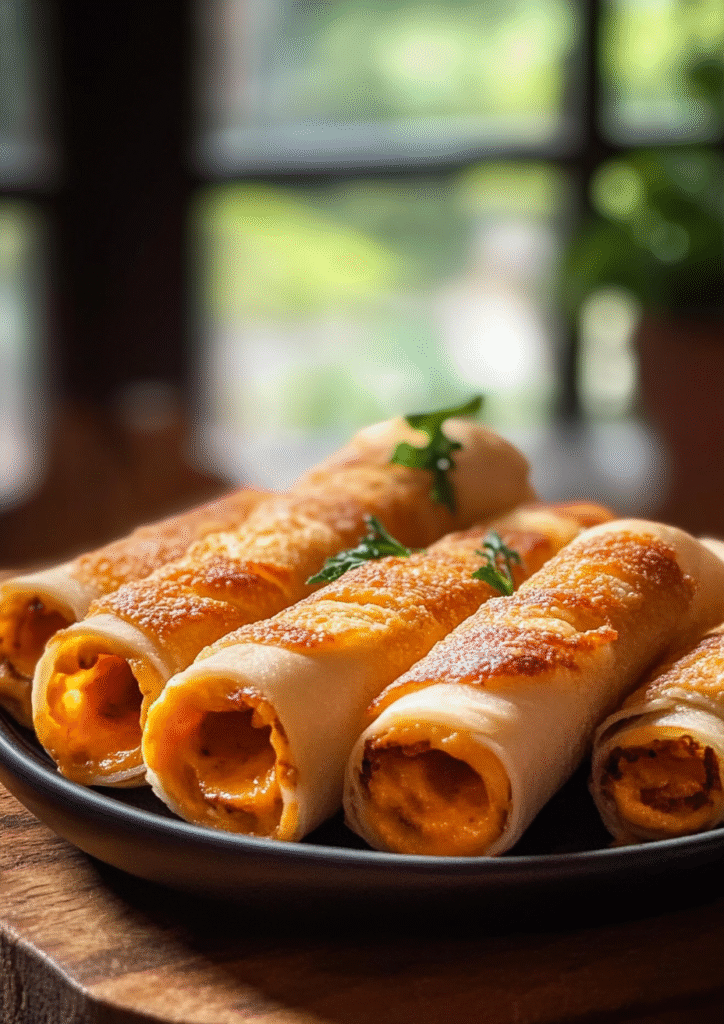
Veggie options like spinach, tomatoes, or sautéed mushrooms work great too—just pat them dry first. Brush with garlic butter or sprinkle with Italian herbs before toasting for extra flavor.
Pair them with dips like tomato soup, ranch, or honey mustard. Hosting a party? Cut roll-ups into bite-sized pieces and serve with toothpicks for a fun, shareable snack.
Storing & Reheating
Leftovers? Let roll-ups cool, then store in an airtight container in the fridge for up to 4 days. To freeze, place them on a tray, freeze until firm, then transfer to a freezer bag for up to 2 months.
For best reheating, skip the microwave. Use a skillet over medium heat, an oven at 350°F for 8–10 minutes, or an air fryer at 350°F for 5 minutes. This keeps them crispy and melty inside—just like fresh!
Chef’s Helpful Tips for Grilled Cheese Roll-Ups
- Use fresh, soft bread – It rolls without cracking. Avoid stale or thick-cut slices.
- Flatten evenly – Rolling the bread flat helps it stick and cook evenly.
- Butter matters – Spread softened butter on the outside of each roll, not the pan. It gives that perfect golden crust.
- Cook seam-side down first – This helps seal the roll-up so it doesn’t unravel.
- Low and slow – Medium heat prevents burning and ensures melty cheese inside.
Bonus tip: Want extra crunch? Add a sprinkle of grated Parmesan on the outside before toasting!
FAQ for Grilled Cheese Roll-Ups
Can I make these ahead of time?
Yes! Roll them up and refrigerate (uncooked) for a few hours. Cook fresh when ready.
What’s the best cheese to use?
American melts best, but cheddar, mozzarella, or a blend also work great.
Can I use gluten-free bread?
Absolutely. Just make sure it’s soft enough to roll without cracking.
What’s the best dip?
Tomato soup is a classic, but ranch, marinara, or honey mustard are great too!
Can I freeze them?
Yes—freeze after cooking, then reheat in a skillet or air fryer for best texture.
Conclusion
Grilled Cheese Roll-Ups are the ultimate easy comfort food—crispy, melty, and endlessly customizable. Whether you’re making a quick lunch, fun snack for kids, or crowd-pleasing party bite, these roll-ups deliver big flavor with minimal effort.
With just a few ingredients and under 15 minutes of cook time, they’re perfect for busy days. Plus, they’re flexible enough to match any taste—switch up the cheese, add in cooked veggies or lean meats, and pair with your favorite dips.
Keep this recipe on hand for last-minute meals or to use up extra bread and cheese. Once you try them, they’re sure to become a regular in your kitchen rotation.
Now it’s your turn—grab your skillet and get rolling!
Melty Grilled Cheese Roll-Ups Your Whole Family Will Love
Description
Crispy, buttery grilled cheese roll-ups filled with gooey melted cheese—perfect for a quick snack or easy lunch!
Ingredients
Instructions
Flatten each bread slice with a rolling pin.
Place one slice of cheese on each piece of bread.
Roll tightly into a log.
Spread softened butter on the outside of each roll.
Cook in a medium-heat skillet for 2–3 minutes per side until golden and melty.
Notes
- Use soft bread for easier rolling.
Serve with tomato soup or your favorite dip.
For extra flavor, brush the outside with garlic butter before cooking.