


Celebrate Halloween with Marshmallow Rice Krispies “Brains”—fun, spooky, and delicious! Soft marshmallows meet crispy cereal in playful brain shapes that wow kids and adults alike. They’re easy to make, fun to decorate, and perfect for parties, school events, or family treats. Add food coloring, chocolate drizzle, or edible decorations to make them extra festive. Quick, tasty, and creative, these treats bring Halloween magic to your dessert table.
Why You’ll Love This Marshmallow Rice Krispies Brains
These Rice Krispies Brains are fun, simple, and irresistible. A childhood favorite gets a spooky twist that everyone will love. With just marshmallows, cereal, and butter (plus optional colors or chocolate), you can make them in minutes. Chewy, crispy, and fully customizable, they’re perfect for parties, treat bags, or Halloween snacks. Easy to make, fun to share, and full of festive charm, they’re a must-try this season.
What You’ll Need
Making Marshmallow Rice Krispies “Brains” is simple and requires just a few easy-to-find ingredients. You don’t need anything fancy, and all the items can be found at most grocery stores.
- 6 cups Rice Krispies cereal – The classic crispy base that gives the brains their crunch.
- 4 cups mini marshmallows – Melt down to create the gooey, sticky texture that holds everything together.
- 3 tablespoons unsalted butter – Adds richness and helps the marshmallows melt smoothly.
- 1 teaspoon vanilla extract – Optional, but adds a subtle, sweet depth of flavor.
- Food coloring – Pink, red, or purple for a realistic “brain” look. Gel colors work best.
- Chocolate or icing – Optional for drizzling or detailing your brains for extra spooky effect.
- Non-stick spray or butter – For greasing your hands and bowl so the mixture doesn’t stick while shaping.
All of these ingredients come together to make a treat that’s both easy and impressive. You can also customize with gluten-free Rice Krispies, or add sprinkles or edible glitter for a fun Halloween twist. Preparing everything ahead of time makes shaping and decorating much easier, ensuring your brains turn out perfect every time.
How to Make Marshmallow Rice Krispies Brains
- Prepare your pan and tools: Lightly grease a large mixing bowl, spatula, and your hands with non-stick spray or butter. This prevents the sticky marshmallow mixture from clinging.
- Melt butter and marshmallows: In a large saucepan over medium-low heat, melt 3 tablespoons butter. Once melted, add 4 cups mini marshmallows, stirring constantly until smooth and gooey. Remove from heat and stir in 1 teaspoon vanilla extract if using.
- Add cereal: Gradually fold in 6 cups Rice Krispies cereal, making sure every piece is coated with the marshmallow mixture. This ensures a consistent texture for shaping.
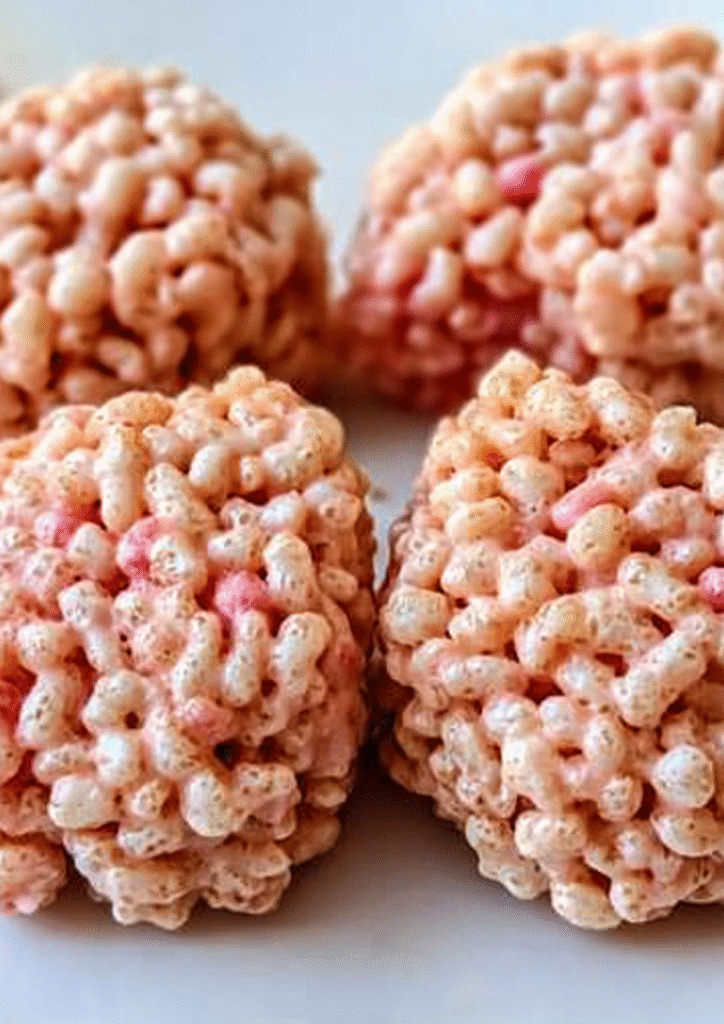
- Color your mixture: If desired, add a few drops of food coloring and mix gently until evenly tinted. For realistic “brains,” pink or red colors work best.
- Shape your brains: Allow the mixture to cool slightly, then grease your hands and form it into small brain shapes. Use a spatula or spoon to help with smoother edges.
- Optional decorating: Drizzle melted chocolate or icing over the top for extra details like veins or spooky effects.
- Set and serve: Let the brains cool completely on wax paper or a tray before serving. They can be displayed as a centerpiece or packed individually for treats.
You Must Know
Before making Marshmallow Rice Krispies “Brains”, a few key tips will help. Work over medium-low heat to melt marshmallows evenly and avoid burning. Grease your hands, spatula, and bowl to prevent sticking while shaping. Use gel food coloring for vibrant colors without changing texture, and start small—pink or red works best for realistic “brains.” Work quickly before the mixture cools and hardens, and remember, slight imperfections add to the Halloween fun.
Perfecting the Cooking Process
To get perfect brains, melt butter fully before adding marshmallows and stir constantly to prevent scorching. Remove from heat before adding Rice Krispies so the mixture stays pliable. Fold in cereal gradually for even coating, and lightly grease hands for shaping. Use a fork or spoon to carve folds for a realistic look. Let the brains cool completely before serving or decorating with chocolate or icing to ensure they hold their shape.
Add Your Touch Marshmallow Rice Krispies Brains
Making Marshmallow Rice Krispies “Brains” is fun, and adding personal touches takes them to the next level. You can drizzle chocolate or colored icing over the brains to create spooky veins or patterns. Sprinkles, edible glitter, or candy eyes can make them playful and eye-catching for kids. Mixing in a few drops of gel food coloring directly into the marshmallow mixture can give each brain a unique hue, from light pink to deep red.
Don’t be afraid to get creative—try shaping some brains slightly larger or smaller, or layer colors for a realistic effect. The goal is to make them visually fun while keeping the chewy, crispy texture intact. These little customizations make your treats memorable, festive, and perfect for a Halloween display or party table.
Storing & Reheating
Proper storage keeps your Rice Krispies Brains fresh and delicious. Store them in an airtight container at room temperature for up to 3 days—any longer and they may become too firm. For longer storage, you can wrap them individually in plastic wrap and freeze for up to a month.
Elevate your dinner game with this.
Reheating isn’t usually necessary, as these treats are best enjoyed at room temperature. If they become slightly firm, letting them sit out for a few minutes softens them naturally. Avoid microwaving unless needed, as this can make them too sticky or lose their shape. With proper storage, your Halloween brains stay tasty, chewy, and ready to wow friends and family anytime.
Chef’s Helpful Tips for Marshmallow Rice Krispies Brains
Creating perfect Marshmallow Rice Krispies “Brains” is easier with a few pro tips. Always work quickly once the marshmallow mixture is ready—cooling makes it hard to shape. Grease your hands and tools generously to prevent sticking. For realistic “brains,” gently carve folds with a fork or spoon while shaping.
A family favorite you need to try.
Use gel food coloring for vibrant hues without changing the texture. If drizzling chocolate, wait until the brains are fully set to avoid smudging. For extra flavor, add a few drops of vanilla extract to the marshmallow mixture. Finally, don’t stress over perfection—slight bumps or uneven shapes make your treats look more spooky and authentic.
FAQ for Marshmallow Rice Krispies Brains
Q: Can I make these gluten-free?
A: Yes! Simply use gluten-free Rice Krispies cereal.
You’ll love this easy weeknight favorite.
Q: Can I store them longer than 3 days?
A: Wrap individually in plastic and freeze for up to a month.
Q: Can I make them in advance?
A: Absolutely! Shape and store in an airtight container until ready to serve.
Q: Can I add flavorings?
A: Yes! Vanilla, almond, or a few drops of food-safe extracts enhance taste.
Q: What if the mixture is too sticky?
A: Lightly grease your hands and tools, and work quickly while it’s warm.
Conclusion
Marshmallow Rice Krispies “Brains” are a fun, spooky, and delicious treat that brings Halloween to life. With simple ingredients like Rice Krispies cereal, marshmallows, and butter, you can create playful, brain-shaped treats that kids and adults will love. They’re easy to make, customizable with colors, chocolate drizzle, or decorations, and perfect for parties, school events, or family fun.
By following a few simple tips—working quickly, greasing your hands, and using gel food coloring—you can achieve impressive, tasty results without stress. These treats combine chewy marshmallow sweetness with crispy cereal crunch, making each bite satisfying and festive. Whether you’re a seasoned baker or a beginner, Rice Krispies Brains offer a creative, hands-on way to celebrate Halloween, delight your guests, and make lasting memories. Fun, simple, and irresistibly spooky, they’re a must-have addition to your Halloween dessert table.
How to Make Marshmallow Rice Krispies (Bubbles) Halloween Brains
Description
Create spooky Marshmallow Rice Krispies Brains in minutes! Chewy, crispy, and perfect for Halloween parties, kids, and adults alike. Fun to make and easy to customize with colors and chocolate drizzle.
Ingredients
Instructions
Prep: Grease a large bowl, spatula, and hands with butter or non-stick spray.
Melt: In a saucepan over medium-low heat, melt butter. Add marshmallows and stir until smooth. Remove from heat and stir in vanilla if using.
Mix: Gradually fold in Rice Krispies cereal until coated. Add food coloring if desired.
Shape: Let mixture cool slightly, then form small brain shapes with greased hands.
Decorate: Optionally, drizzle with chocolate or icing to create veins and extra details.
Set: Allow to cool completely before serving.
Notes
- Use gel food coloring for vibrant colors without altering texture.
Slightly imperfect shapes make them look more realistic.
Store in an airtight container at room temperature up to 3 days or freeze individually for longer storage.