

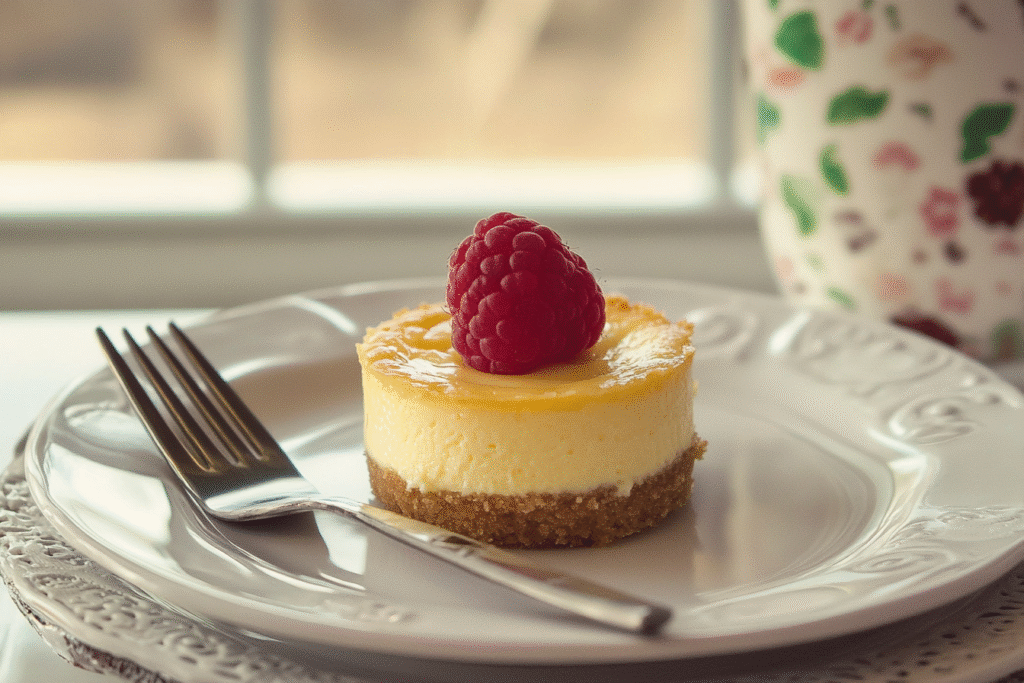
If you’re craving a rich, creamy dessert that’s perfectly portioned and packed with New York-style cheesecake flavor, Classic Mini Cheesecakes are the answer. These bite-sized treats deliver all the goodness of a traditional cheesecake—tangy cream cheese filling, buttery graham cracker crust, and smooth texture—in a simple, single-serve format. No need for a springform pan or water bath, and they’re made without any alcohol or pork-based ingredients, making them a versatile choice for families and gatherings.
Mini cheesecakes are perfect for parties, potlucks, holidays, or anytime you want an easy yet elegant dessert. They’re freezer-friendly, make-ahead friendly, and endlessly customizable with toppings like berries, chocolate, or lemon curd. Whether you’re an experienced baker or just starting out, this recipe will help you create picture-perfect cheesecakes every time.
Why You’ll Love This Mini New York Cheesecakes
There are so many reasons to fall in love with these classic mini cheesecakes:
- Rich and Creamy: The filling is silky smooth with just the right amount of sweetness and a hint of lemon for that signature New York tang.
- Perfect Portions: No slicing required—each one is individually sized, making serving simple and stress-free.
- Quick and Easy: Bakes in less time than a full cheesecake, with fewer chances of cracking or sinking.
- Customizable: Top with fresh fruit, whipped cream, or drizzle with chocolate or caramel—whatever fits your mood or occasion.
- Make-Ahead Friendly: Store in the fridge or freezer for whenever you need a quick dessert.
These mini cheesecakes are the ultimate combination of convenience and indulgence—and they’re sure to become a favorite for both everyday treats and special occasions.
What You’ll Need
Creating Classic Mini Cheesecakes New York Style requires just a handful of pantry staples and a few fresh ingredients. Most of these are probably already in your kitchen! Each ingredient plays a key role in achieving that creamy texture and rich flavor that makes New York cheesecake so beloved.
For the Graham Cracker Crust:
- 1 cup graham cracker crumbs – This is the base of your crust. You can crush full sheets of graham crackers or use pre-ground crumbs.
- 2 tablespoons granulated sugar – Adds a hint of sweetness to the crust.
- 4 tablespoons unsalted butter, melted – Binds the crust together and adds buttery richness.
For the Cheesecake Filling:
- 16 oz cream cheese (2 blocks), softened – Full-fat cream cheese works best for a creamy, dense texture.
- ½ cup granulated sugar – Sweetens the filling without overpowering the tanginess.
- 1 teaspoon vanilla extract – Enhances the overall flavor.
- 2 large eggs – Help set the filling while keeping it smooth and rich.
- 2 tablespoons sour cream – Adds a subtle tang and extra creaminess.
- 1 teaspoon lemon juice – Brightens the flavor and adds that signature New York cheesecake zing.
- Pinch of salt – Balances the sweetness and brings out all the flavors.
Optional Toppings:
- Fresh berries
- Fruit compote
- Whipped cream
- Chocolate ganache or caramel sauce
- Crushed cookies or nuts
These simple ingredients come together beautifully for a dessert that looks impressive but is incredibly easy to make. Don’t skip the lemon juice or sour cream—they make a noticeable difference in flavor!
How to Make Mini New York Cheesecakes
Once your ingredients are ready, follow these easy steps to bring your mini cheesecakes to life. This recipe makes about 12 servings.
Step 1: Preheat and Prep
Preheat your oven to 325°F (163°C). Line a standard muffin tin with paper cupcake liners. This makes removal and cleanup a breeze.
Step 2: Make the Crust
In a mixing bowl, combine:
- 1 cup graham cracker crumbs
- 2 tbsp sugar
- 4 tbsp melted butter
Mix until the texture resembles wet sand. Spoon about 1 tablespoon of the crust mixture into each cupcake liner and press it down firmly with the back of a spoon. Bake for 5 minutes, then remove and let cool while you prepare the filling.
Step 3: Make the Filling
Using a hand or stand mixer, beat 16 oz cream cheese until smooth. Add:
- ½ cup sugar
- 1 tsp vanilla extract
- 1 tsp lemon juice
- Pinch of salt
Beat again until fluffy, then mix in 2 eggs, one at a time. Finally, add 2 tbsp sour cream and mix just until combined.
Step 4: Fill and Bake
Divide the filling evenly among the crust-lined cups. Fill each about ¾ full. Tap the pan gently on the counter to remove air bubbles.
Bake at 325°F for 15–18 minutes, or until centers are just set. They should still jiggle slightly.
Step 5: Cool and Chill
Let cheesecakes cool in the pan for 30 minutes, then transfer to the fridge for at least 2 hours (or overnight). This step is crucial to set the texture and flavor.
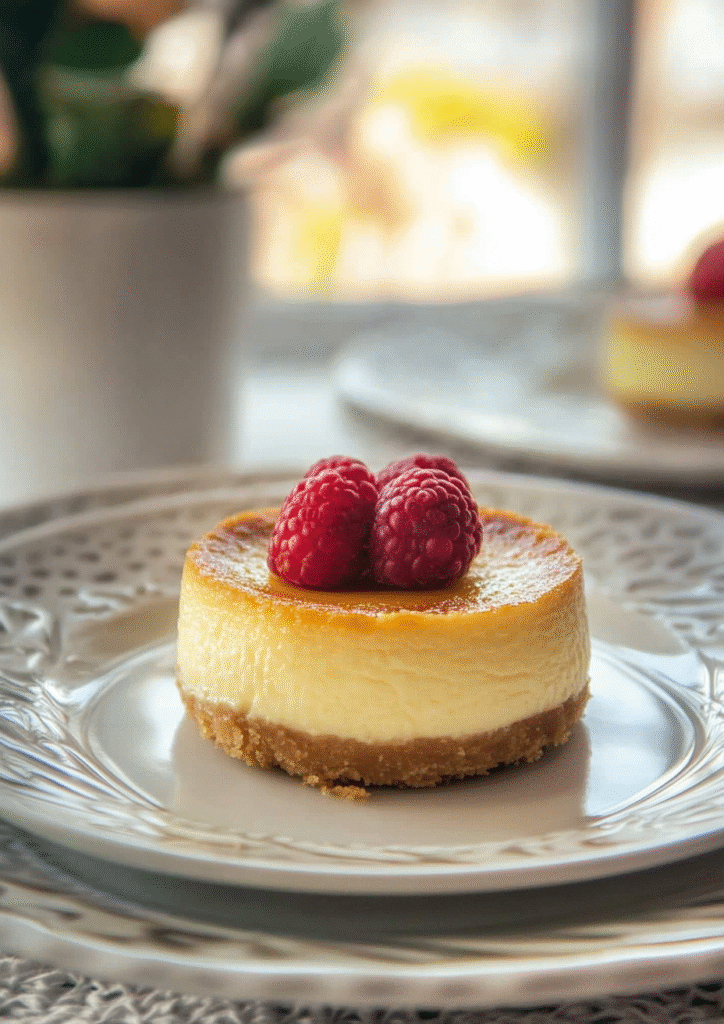
Top with your favorite garnish before serving.
You Must Know
Before baking your mini cheesecakes, keep these key points in mind to ensure perfect results:
- Room Temp Ingredients: Always use softened cream cheese and room-temperature eggs to avoid lumps and get a silky-smooth batter.
- Avoid Overmixing: Once everything is combined, stop mixing. Overmixing adds air, which can cause cracks.
- Skip the Water Bath: These bake evenly without the hassle of a water bath.
- Cool and Chill: Let them cool at room temperature before refrigerating for at least 2 hours to fully set.
- Use Liners: Paper or silicone liners help you remove each cheesecake cleanly and with no mess.
Knowing these basics will save you time and guarantee consistent, bakery-style results.
Perfecting the Cooking Process
Want that ultra-smooth, no-crack finish? Follow these baking tips:
- Preheat Properly: Bake at 325°F for gentle, even cooking.
- Tap Out Air Bubbles: After filling the liners, tap the muffin pan to release air pockets.
- Don’t Overbake: Take them out when the edges are set and the centers still jiggle slightly.
- Cool Gradually: Sudden temperature changes can cause cracks, so cool in the pan first.
- Top Later: Add toppings like fruit or whipped cream just before serving to keep things fresh.
These small steps make a big difference—and help you serve mini cheesecakes that look as good as they taste.
Add Your Touch Mini New York Cheesecakes
One of the best parts about mini cheesecakes is how easy they are to customize. While the classic New York flavor is rich and satisfying on its own, there are countless ways to make each batch your own:
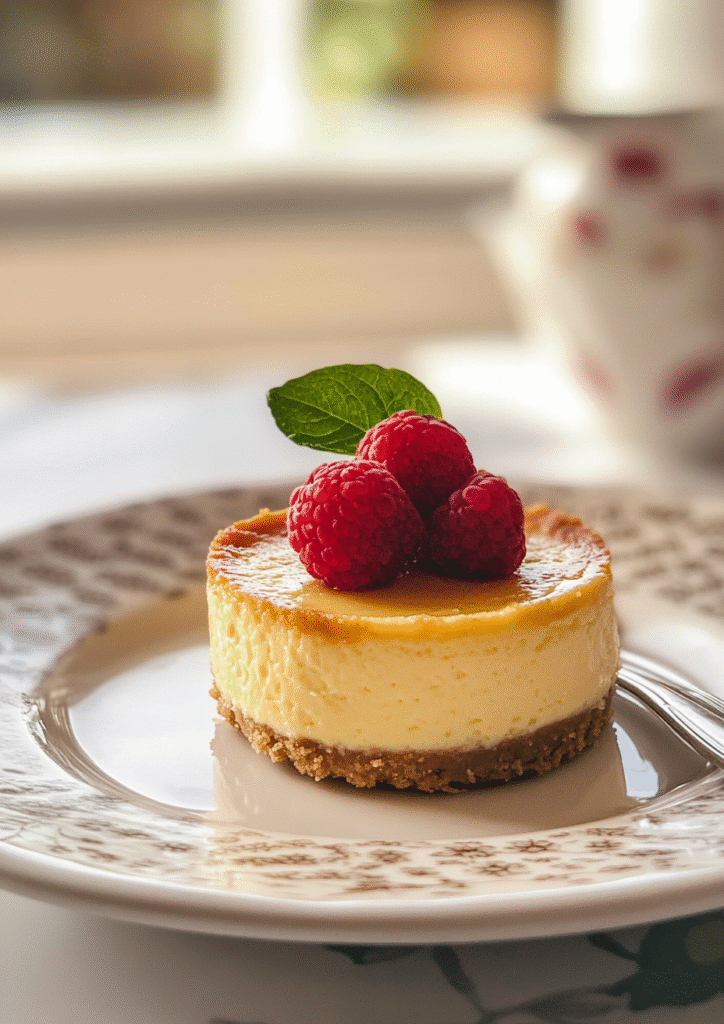
- Fruit Toppings: Add a spoonful of fresh berries, fruit compote, or citrus zest for a fresh twist.
- Chocolate Lovers: Drizzle melted chocolate, swirl in Nutella, or top with chocolate chips before baking.
- Crunch Factor: Crushed cookies, chopped nuts, or toffee bits sprinkled on top give extra texture and flavor.
- Flavor the Filling: Mix in a bit of lemon zest, cinnamon, or a swirl of peanut butter to change things up.
- Festive Finishes: For holidays, decorate with colored sprinkles, edible glitter, or themed cupcake liners.
These personal touches let you tailor your cheesecakes to any event, season, or craving—without changing the base recipe.
Storing & Reheating
Mini cheesecakes are great for making ahead, and they store beautifully with just a little care:
Round out your menu with this simple and tasty recipe.
- Refrigerator: Keep them in an airtight container for up to 5 days. Let them sit at room temp for 10–15 minutes before serving for the best texture.
- Freezer: Freeze (without toppings) in a single layer, then transfer to a freezer-safe bag. They’ll keep for up to 2 months. Thaw overnight in the fridge.
- Reheating: These are best enjoyed chilled or at room temp, so no reheating is necessary. If you prefer a slightly warmer bite, microwave for 5–10 seconds max—any longer may change the texture.
Proper storage keeps them fresh, delicious, and ready to enjoy whenever the craving hits.
Chef’s Helpful Tips for Mini New York Cheesecakes
These chef-approved tips will help you avoid common cheesecake mistakes and get bakery-style results every time:
Serve it with this simple side for a complete meal.
- Use Full-Fat Cream Cheese: Low-fat versions won’t give you the same rich, creamy texture.
- Scrape the Bowl: Scrape down the sides of the mixing bowl often to ensure everything blends evenly.
- Don’t Rush Cooling: Let cheesecakes cool fully before refrigerating—this prevents cracks and helps them firm up.
- Use a Cookie Scoop: For evenly portioned batter, a medium-sized cookie scoop is perfect.
- Make a Variety Tray: Use different toppings on each cheesecake for a fun, dessert-bar-style presentation.
- Serve with a Clean Edge: Peel off the liner just before serving for a clean, polished look.
These little touches make a big difference and turn a simple mini cheesecake into a show-stopping dessert.
FAQ for Mini New York Cheesecakes
Can I make these ahead of time?
Yes! These mini cheesecakes are perfect for prepping ahead—store in the fridge for up to 5 days or freeze for longer.
Why did my cheesecakes crack?
Cracks often happen from overbaking or cooling too quickly. Bake until just set and cool gradually.
This comforting dish pairs perfectly with this recipe too.
Can I use flavored cream cheese?
It’s best to stick with plain cream cheese for a balanced flavor. You can add extracts or mix-ins for variation.
How do I know when they’re done?
The edges should be set and the center should jiggle slightly—don’t wait for it to firm up in the oven.
Are they gluten-free?
The filling is gluten-free, but the crust typically isn’t. Use gluten-free graham crackers or cookie crumbs if needed.
Conclusion
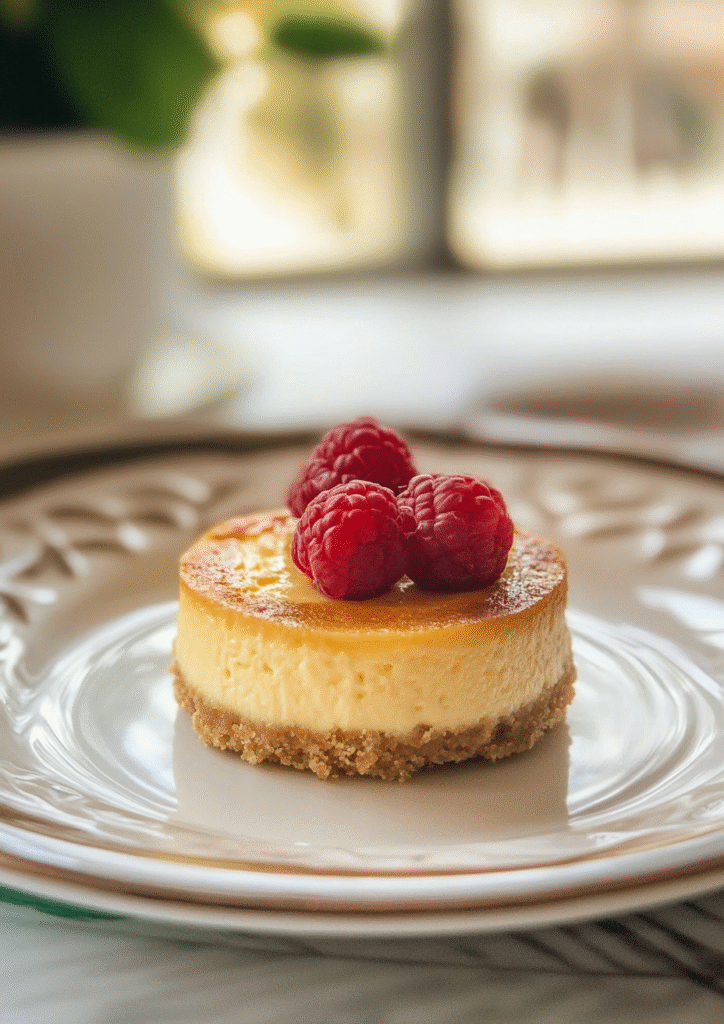
Classic Mini Cheesecakes New York Style are the perfect blend of elegance, flavor, and convenience. With their creamy texture, buttery crust, and customizable toppings, they suit any occasion—from casual family nights to special celebrations. Easy to make, freezer-friendly, and portioned just right, they’re a go-to dessert you’ll come back to again and again.
Whether you keep them classic or add your personal flair, these mini cheesecakes are sure to impress. No complicated steps, no fancy equipment—just simple ingredients and delicious results every time.
Give them a try, and you’ll see why these little cheesecakes deserve a permanent spot in your recipe box.
From Scratch: Classic Mini Cheesecakes New York Style for Beginners
Description
Rich, creamy, and perfectly portioned—these Classic Mini New York Cheesecakes are easy to make and perfect for any occasion. With a buttery graham cracker crust and a smooth, tangy filling, they’re a mini indulgence everyone will love!
Ingredients
Instructions
Preheat oven to 325°F (163°C) and line a muffin tin with paper liners.
Mix crust ingredients, press into liners, and bake for 5 minutes.
Beat cream cheese until smooth, then mix in sugar, vanilla, lemon juice, salt, and eggs. Stir in sour cream last.
Divide batter over crusts, filling each ¾ full.
Bake for 15–18 minutes, until centers slightly jiggle.
Cool in the pan, then refrigerate for at least 2 hours before serving.
Notes
- Ensure all ingredients are at room temperature for a smooth batter.
Top with fruit, chocolate, or caramel just before serving for extra flavor.
These can be frozen (without toppings) for up to 2 months.