

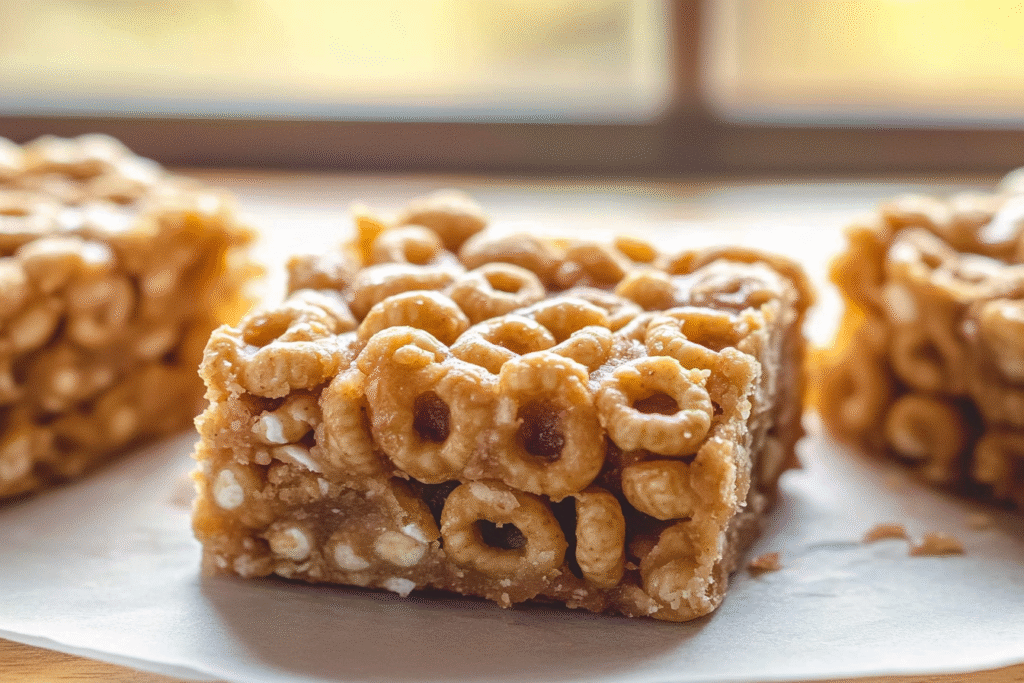
Need a quick, no-fuss snack that’s sweet, crunchy, and satisfying? These Easy No-Bake Cheerio and Peanut Butter Bars are your new favorite treat! With just a handful of pantry staples—like peanut butter, honey, and Cheerios—you can whip up a batch in minutes. No oven needed, which makes them perfect for hot days or busy schedules.
Whether you’re packing school lunches, prepping an after-school snack, or just want something simple and homemade, these chewy bars hit the mark. Plus, they’re fun for kids to help make and endlessly customizable. Let’s dive into why they’re such a hit!
Why You’ll Love This No-Bake Cheerio Peanut Butter Bars
There’s a lot to love about this easy no-bake recipe:
- No baking required – Just mix, press, and chill.
- Simple ingredients – All you need is peanut butter, honey, vanilla, and Cheerios.
- Naturally sweetened – Honey gives these bars just the right amount of sweetness.
- Kid-friendly – Perfect for lunchboxes and after-school bites.
- Protein-packed – Thanks to the peanut butter, they’re filling and energizing.
- Customizable – Swap peanut butter for almond or sunflower butter, add chocolate chips, or sprinkle coconut on top.
- Budget-friendly – Way cheaper than store-bought granola bars.
These bars are quick, tasty, and easy to tweak to your taste—perfect for families and snack lovers alike!
What You’ll Need
You only need a few simple ingredients to make these chewy, crunchy bars. Most are probably already in your pantry:
- 3 cups Cheerios – Use original or whole grain. Gluten-free varieties work too.
- 1 cup creamy peanut butter – Natural or classic; both work great.
- ½ cup honey – Acts as a natural sweetener and binder.
- 1 tsp vanilla extract – Adds warmth and depth of flavor.
- Optional mix-ins – Mini chocolate chips, raisins, crushed nuts, or coconut flakes.
That’s it! No hard-to-find ingredients or prep-heavy steps. This easy base gives you room to experiment if you want to add your own twist later.
How to Make No-Bake Cheerio Peanut Butter Bars
These bars come together fast with minimal effort:
Ingredients:
- 3 cups Cheerios
- 1 cup creamy peanut butter
- ½ cup honey
- 1 teaspoon vanilla extract
Instructions:
- Prepare the pan: Line an 8×8-inch baking dish with parchment paper.
- Melt & mix: In a saucepan over low heat, stir together the peanut butter and honey until smooth. Remove from heat and mix in the vanilla.
- Combine: Pour the peanut butter mixture over the Cheerios in a large bowl. Stir gently to coat all the cereal.
- Press into pan: Transfer the mixture to your lined pan. Use a spatula or clean hands to press down firmly and evenly.
- Chill: Refrigerate for 1–2 hours, or until firm.
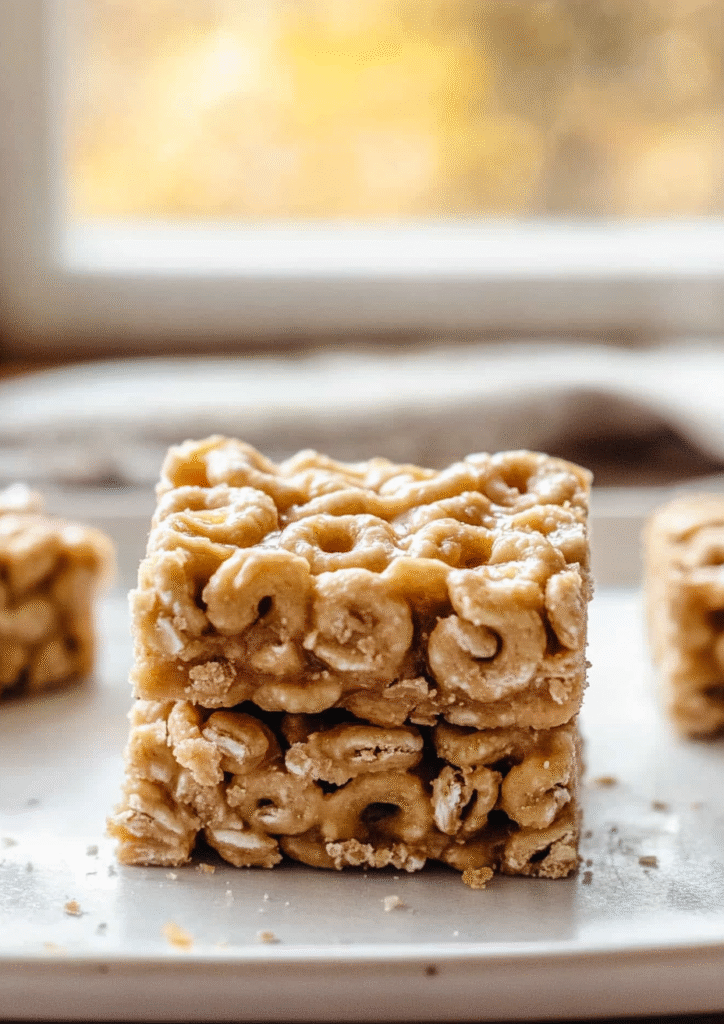
- Cut & serve: Lift from the pan and slice into bars or squares.
These bars are best stored chilled, but more on that in the next section!
You Must Know
Before jumping in, here are a few key things to keep in mind:
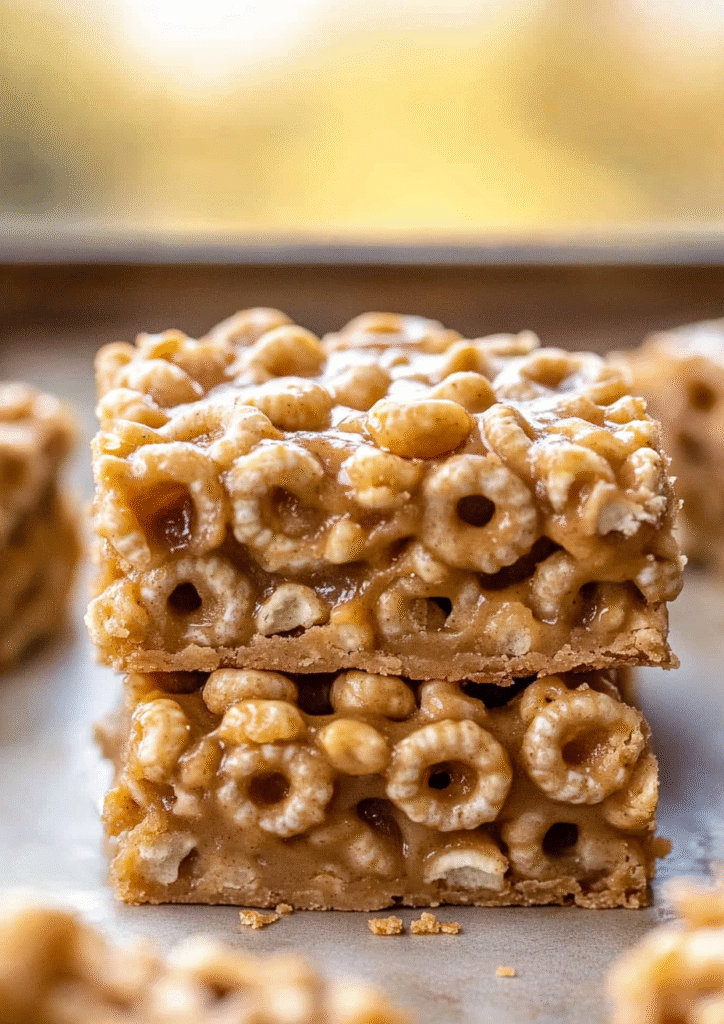
- Use fresh cereal: Stale Cheerios = soft, soggy bars. For that signature crunch, make sure your cereal is fresh and crispy.
- Natural vs. regular peanut butter: Natural peanut butter (the kind you stir) can make the bars softer. Regular creamy peanut butter gives a firmer set. Choose based on your texture preference.
- Stickiness matters: Honey is crucial for holding everything together. Don’t reduce it too much or the bars may fall apart.
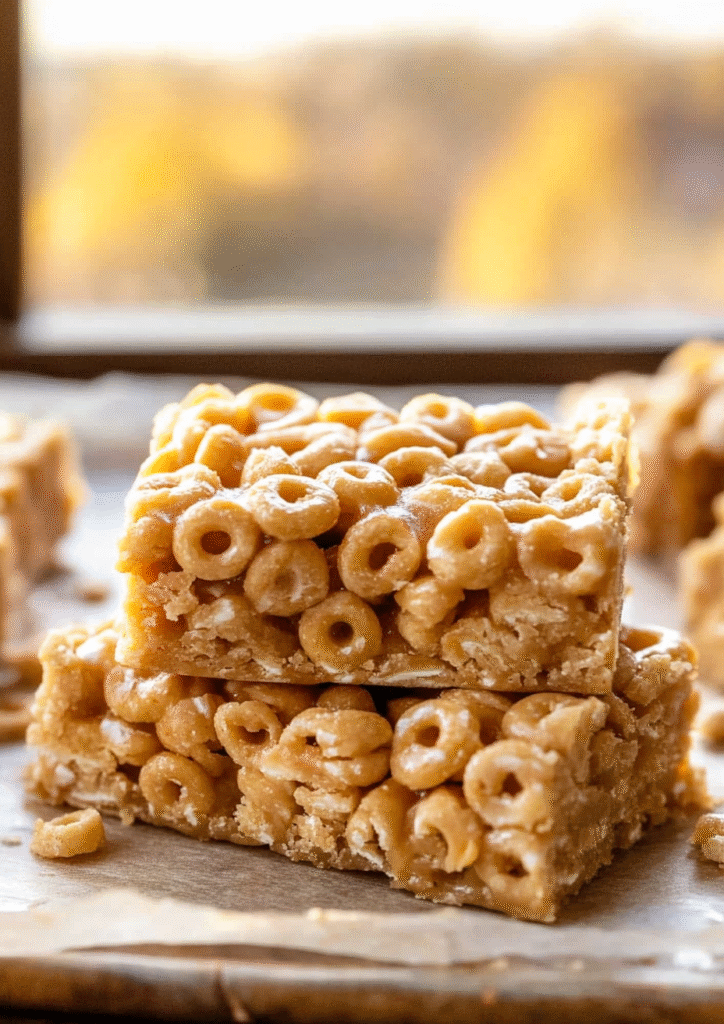
- Press firmly: Use a spatula or the back of a spoon to press the mixture tightly into the pan. This helps the bars hold their shape after chilling.
- Let them chill fully: Give the bars at least 1–2 hours in the fridge to set. Rushing this step could lead to messy slices.
These little details make a big difference in getting perfect no-bake bars every time.
Perfecting the Cooking Process
Even though there’s no baking, a few smart tips can help you nail this recipe every time:
- Low and slow melting: Always melt the peanut butter and honey over low heat. High heat can burn the honey or make the mixture seize.
- Add vanilla after removing from heat: This preserves its flavor and prevents burning or bitterness.
- Coat quickly: Once the peanut butter mixture is ready, mix it into the Cheerios right away. The warmer the mixture, the easier it spreads.
- Use parchment paper: Lining your pan makes it easy to lift and cut clean bars without sticking.
- Even thickness: Spread the mixture evenly across the pan so all bars chill and slice consistently.
With these small but important steps, your bars will come out firm, flavorful, and picture-perfect every time!
Add Your Touch No-Bake Cheerio Peanut Butter Bars
One of the best parts of this recipe is how easy it is to personalize. Whether you want to add texture, boost nutrition, or make them extra indulgent, these Cheerio bars are a blank canvas.
Fun Customizations:
- Chocolate Chips: Stir in mini chocolate chips once the mixture cools slightly. Or melt chocolate and drizzle it over the top before chilling.
- Dried Fruit: Add chopped dried cranberries, raisins, or apricots for a sweet, chewy bite.
- Coconut Flakes: Sprinkle unsweetened shredded coconut into the mix or on top for tropical flair.
- Seeds or Nuts: Chia seeds, sunflower seeds, or chopped almonds give a satisfying crunch and extra nutrients.
- Marshmallow Mix: Add ½ cup of mini marshmallows for a treat-style variation that kids will love.
Allergy-Friendly Options:
- Nut-Free: Use sunflower seed butter or soy nut butter instead of peanut butter for a school-safe version.
- Gluten-Free: Choose certified gluten-free Cheerios to make this snack celiac-friendly.
- Vegan: Swap honey for maple syrup or agave nectar, and use vegan chocolate if adding toppings.
Get creative! These bars are super forgiving, and a few tweaks can make them feel like a whole new recipe each time.
Storing & Reheating
These no-bake bars store beautifully and are ideal for meal prep or make-ahead snacking.
If you liked this one, you’ll definitely want to try this reader favorite next.
How to Store:
- Fridge: Place bars in an airtight container and refrigerate for up to 7 days. Layer with parchment paper if stacking.
- Freezer: For longer storage, freeze for up to 2 months. Wrap each bar individually or layer in a freezer-safe container. Thaw in the fridge before eating.
Reheating:
These bars don’t require reheating—but if they’re too firm straight from the fridge or freezer, leave them at room temperature for 5–10 minutes to soften slightly.
Perfect for tossing into lunchboxes, grabbing post-workout, or enjoying as a late-night snack. With proper storage, these bars stay chewy, fresh, and full of flavor.
Chef’s Helpful Tips for No-Bake Cheerio Peanut Butter Bars
A few pro tips can take your no-bake Cheerio bars from good to absolutely irresistible. Here’s what seasoned home cooks (and busy parents) know about making these bars effortlessly every time.
Don’t stop here—this next recipe is just as crowd-pleasing.
1. Warm the Honey First
If your honey has crystallized or is thick, microwave it for 10–15 seconds before mixing. This helps it blend smoothly with the peanut butter.
2. Mix Gently but Quickly
Once your peanut butter and honey mixture is ready, stir it into the cereal immediately. Work fast to coat everything evenly before the mixture starts to set.
3. Use a Flat Pressing Tool
To get a clean, flat surface, press the mixture into the pan using a small spatula or the bottom of a measuring cup. Lightly grease the pressing tool if sticking is an issue.
4. Cool Completely Before Cutting
Cutting too soon can cause the bars to crumble or lose shape. Chill them fully—at least 1 hour—for best results.
5. Make Mini Bites for Snacks
Instead of full-size bars, press the mixture into mini muffin cups or roll it into small balls. Great for portion control or kids’ snacks.
6. Label and Date If Freezing
If you plan to freeze some for later, label the container with the date to keep track. These bars last up to 2 months frozen, but you’ll probably eat them long before then!
A little planning goes a long way with these no-bake bars—and these tips ensure a stress-free process every time.
FAQ for No-Bake Cheerio Peanut Butter Bars
1. Can I use almond butter or another nut butter instead of peanut butter?
Absolutely! Almond butter, cashew butter, or sunflower seed butter work great. Just make sure it’s creamy, not chunky, and similar in texture to peanut butter for best results.
2. What can I use instead of honey?
Maple syrup or agave nectar are good non-honey alternatives. Keep in mind they may make the bars slightly softer.
If you love simple recipes like this, here’s another you’ll want to save.
3. Are these bars gluten-free?
They can be! Just use certified gluten-free Cheerios. Always check the label to avoid cross-contamination if you’re sensitive.
4. Do these need to be refrigerated?
Yes, it’s best to store them in the fridge to keep them firm and fresh. However, they’re safe at room temperature for several hours—great for lunchboxes!
5. Can I double the recipe?
Definitely! Just use a larger pan (like 9×13) and make sure to press the mixture evenly to maintain thickness.
6. Why did my bars fall apart?
This usually happens if the honey-to-peanut-butter ratio is off, or if the bars weren’t pressed firmly or chilled long enough. Stick to the measurements and chill thoroughly.
Conclusion
When it comes to fast, fun, and foolproof snacks, these Easy No-Bake Cheerio and Peanut Butter Bars check every box. They’re sweet, satisfying, and loaded with kid-friendly appeal—all while being customizable, budget-conscious, and made from ingredients you probably already have. Whether you’re packing them for school, serving them as an after-dinner treat, or enjoying them with your morning coffee, they deliver flavor and crunch in every bite.
What makes this recipe shine is its simplicity. You don’t need baking skills or fancy gear—just a few ingredients, a saucepan, and a fridge. Plus, with so many ways to make them your own (think chocolate drizzle, dried fruits, or nut-free versions), these bars never get boring.
So the next time you’re short on time but still want to make something delicious and homemade, give these no-bake bars a try. You’ll love how quickly they come together—and how fast they disappear!
Got little hands eager to help in the kitchen? Let them stir, press, or sprinkle toppings. It’s a fun, mess-friendly recipe that gets everyone involved and leaves you with a tasty reward at the end.
Now that you’re armed with all the tips and tricks, go ahead—make a batch today. Your snack game is about to level up!
The Best Easy No-Bake Cheerio and Peanut Butter Bars Recipe
Description
A chewy, crunchy, kid-friendly treat made with just a few pantry staples. These no-bake bars are perfect for quick snacks, lunchboxes, or satisfying your sweet tooth without turning on the oven!
Ingredients
Instructions
Line an 8×8-inch pan with parchment paper.
In a saucepan over low heat, stir peanut butter and honey until melted and smooth. Remove from heat and stir in vanilla.
Pour over Cheerios in a large bowl and mix gently to coat.
Press mixture into the pan evenly.
Refrigerate for 1 hour until set. Slice and serve.
Notes
- Use regular peanut butter for a firmer texture; natural versions may yield softer bars.
Add-ins like chocolate chips, dried fruit, or coconut flakes can be stirred in once the mixture cools slightly.
Store in the fridge for up to 7 days or freeze for up to 2 months.