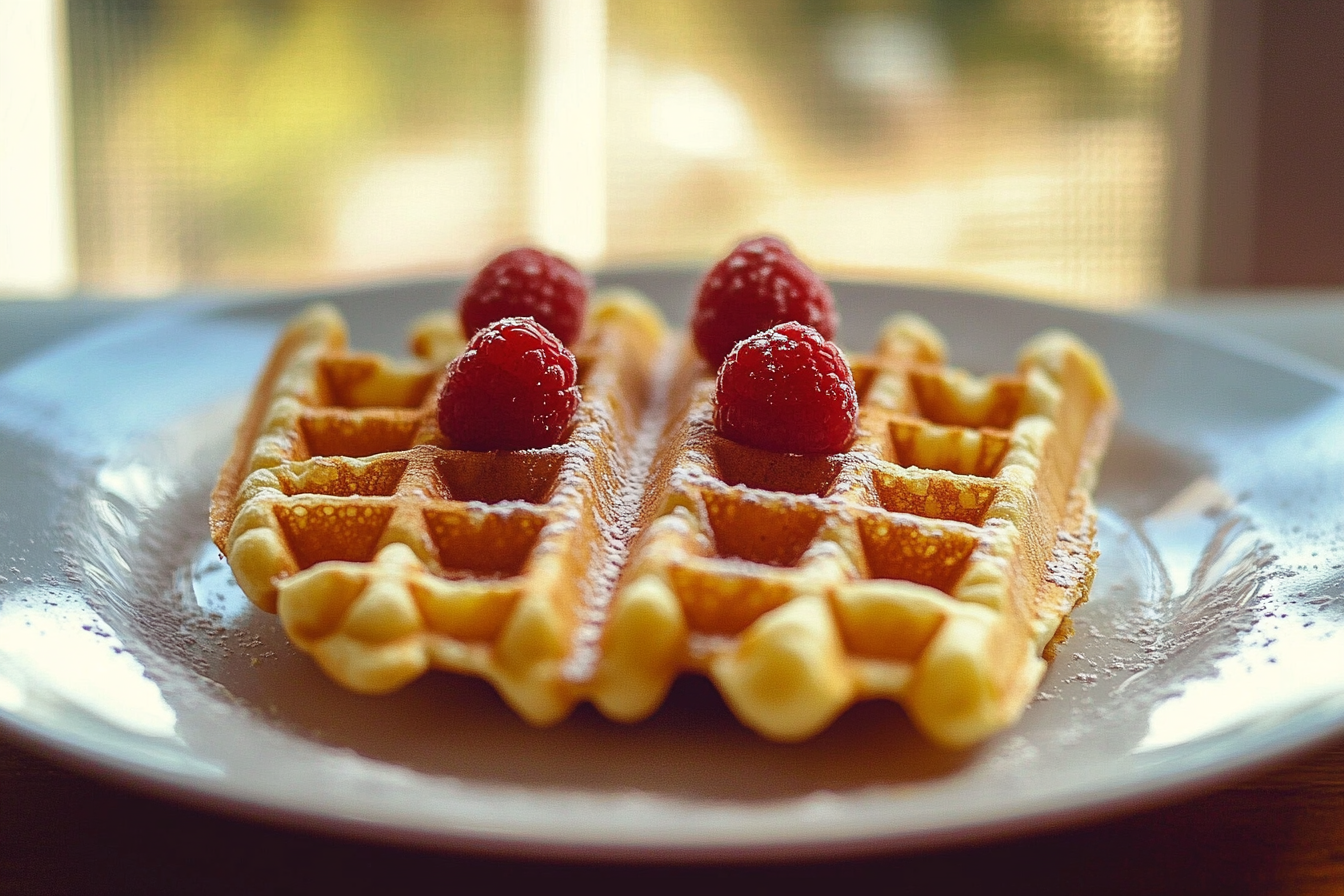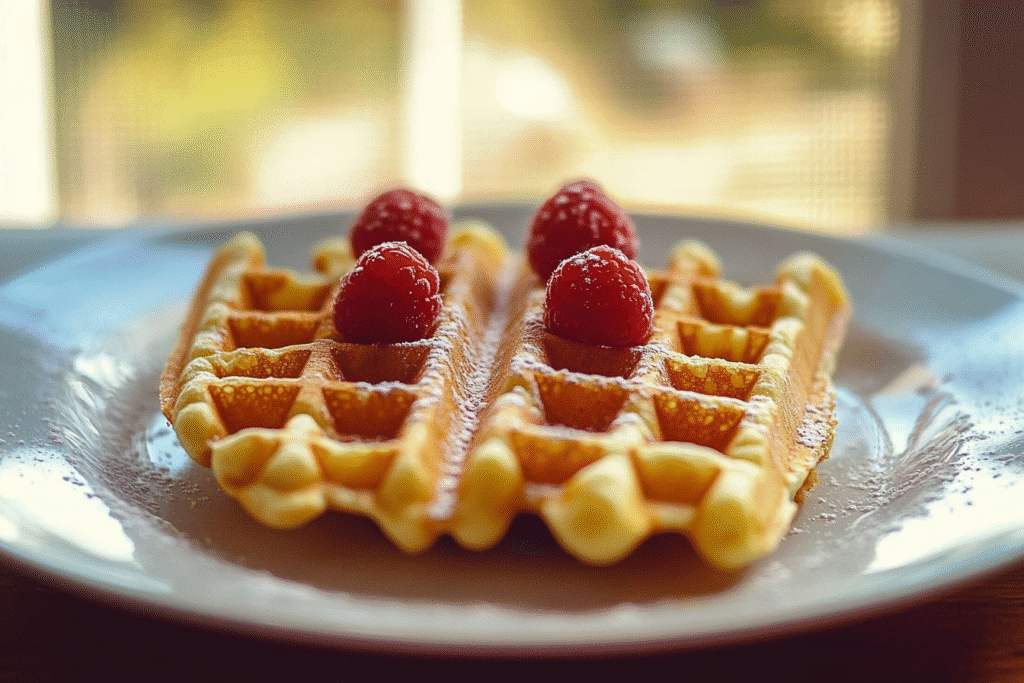
Back-to-school mornings can be hectic, but starting the day with something fun like Pencil Waffles makes breakfast exciting for kids and teachers alike. These playful waffles are designed to look like pencils using food coloring and a few simple ingredients. They’re perfect for a first-day-of-school breakfast, a teacher gift, or a fun classroom-themed treat.
Easy to prepare and full of charm, Pencil Waffles bring creativity to the breakfast table. You can make them using your favorite waffle or pancake batter, and customize them with colors to mimic a real pencil—yellow for the body, pink for the eraser, and chocolate or fruit for the tip. Kids will love helping, and parents will appreciate the simple process and make-ahead potential.
Whether you’re looking to surprise your child or treat a teacher, these waffles are the perfect mix of fun and flavor to kick off the school year right.
Why You’ll Love This Pencil Waffles
There are so many reasons to fall in love with Pencil Waffles. First, they’re incredibly kid-friendly—fun to look at and even better to eat. Their pencil design instantly grabs attention, making breakfast more exciting and less of a struggle on school mornings.
They’re also super versatile. You can use boxed waffle mix or homemade batter, add natural colors, and top with fruit or syrup. Want a healthier spin? Try whole grain flour or natural sweeteners like mashed banana or applesauce.
Pencil Waffles are great for make-ahead breakfasts too. Cook a batch, freeze them, then toast and serve all week long. They’re also perfect for teacher gifts or classroom parties—just wrap them up with a cute tag and you’ve got an instant hit.
In short, they’re quick, fun, creative, and a fantastic way to start the day with a smile.
What You’ll Need
Making Pencil Waffles is simple and fun—you just need a few kitchen basics and some creative touches. Whether you’re using a boxed mix or homemade batter, these ingredients will help you bring your edible pencils to life.
Ingredients:
- 1 ½ cups all-purpose flour
- 2 tbsp granulated sugar
- 1 tbsp baking powder
- ¼ tsp salt
- 1 ¼ cups milk (any kind works: dairy or non-dairy)
- 2 large eggs
- ¼ cup unsalted butter, melted
- 1 tsp vanilla extract
- Food coloring: yellow, pink, and a touch of black or brown
- Chocolate chips or mini pretzel sticks (for pencil tips)
You’ll also need:
- Waffle maker (regular or mini rectangle style works best)
- Piping bags or small bowls for coloring sections
- Cooking spray or oil (to grease the waffle maker)
These items can be easily swapped depending on dietary needs. For example, use gluten-free flour or a dairy-free milk alternative. The key is to separate and color the batter before cooking to get that pencil-like look!
How to Make Pencil Waffles
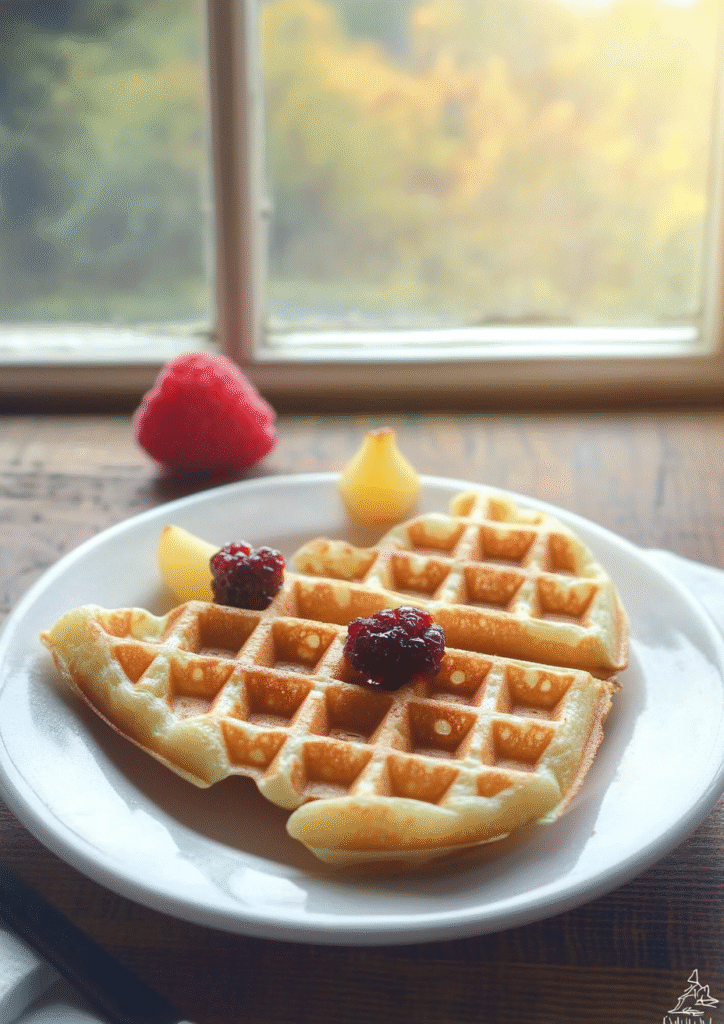
Ready to bring your Pencil Waffles to life? Follow these easy steps to create a breakfast that looks as cool as it tastes.
Step-by-Step Instructions:
- Make the batter:
In a mixing bowl, whisk together:
- 1½ cups flour
- 2 tbsp sugar
- 1 tbsp baking powder
- ¼ tsp salt
In another bowl, mix:
- 1¼ cups milk
- 2 large eggs
- ¼ cup melted butter
- 1 tsp vanilla extract
Combine wet and dry ingredients until just mixed—don’t over-stir.
- Divide & color:
Separate batter into three small bowls.
- Yellow: for the pencil body (use the most batter here)
- Pink: for the eraser
- Brown or black: for the pencil tip
- Preheat waffle iron and lightly grease it.
- Create the pencil shape:
Carefully spoon colored batters into the waffle maker in this order:
- Brown/black for the tip
- Yellow for the middle
- Pink for the eraser end
Close and cook until golden and cooked through (about 4–5 minutes, depending on your waffle maker).
- Add details:
Once waffles are ready, press a mini chocolate chip or pretzel into the tip to complete the pencil look.
That’s it! You now have adorable Pencil Waffles perfect for school mornings or gifting to teachers.
You Must Know
Before making Pencil Waffles, keep these quick tips in mind:
- Use piping bags or squeeze bottles for clean lines between colors.
- Don’t overfill the waffle maker, or your colors will blend too much.
- Preheat your waffle iron fully to help batter set quickly and evenly.
- Choose gel food coloring for bold color without thinning the batter.
- Grease the waffle maker well to avoid sticking and tearing.
- Thicker batter works better—if needed, add a spoonful of flour.
These basics help your waffles come out clean, colorful, and fun every time.
Perfecting the Cooking Process
Want your Pencil Waffles to look and taste amazing? Here’s how:
- Preheat properly—hot plates give crisper waffles and defined color zones.
- Add colors in order: brown/black tip, yellow body, pink eraser.
- Cook 4–5 minutes or until golden and easy to lift.
- Cool on a wire rack to avoid sogginess.
- Add fun extras like a mini chocolate chip for the pencil point after cooking.
- Keep warm in a 200°F oven if making a big batch.
These easy tips ensure your waffles are picture-perfect and ready to impress.
Add Your Touch Pencil Waffles
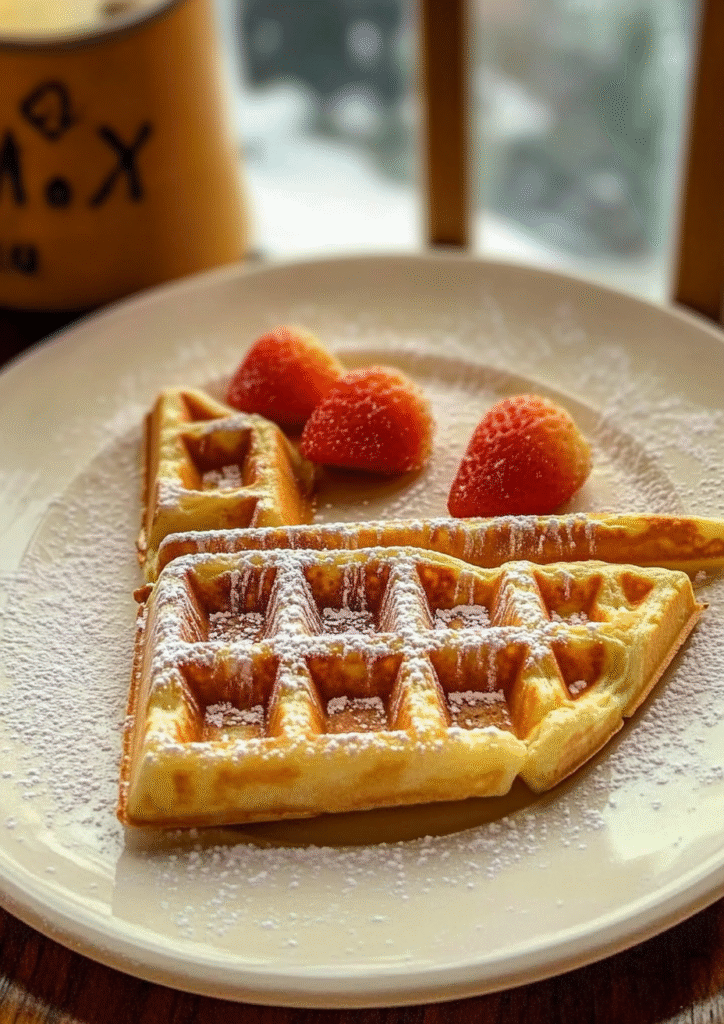
Pencil Waffles are fun on their own, but adding a personal twist makes them even better:
- Go healthy with whole wheat flour or mashed banana in the batter.
- Add toppings like fresh fruit, whipped cream, or a drizzle of maple syrup.
- Use dairy-free milk or gluten-free flour for dietary needs.
- Decorate with edible markers or icing to write names or messages.
- Make mini pencils using a smaller waffle iron or cut large waffles in half.
- Create themed colors for school events or your child’s favorite hues.
This recipe is flexible—get creative and make it your own!
Storing & Reheating
Make Pencil Waffles ahead of time for a stress-free breakfast:
Make your meal plan easier with this other no-fuss favorite.
- Store in the fridge in an airtight container for up to 3 days.
- Freeze for later—layer waffles between parchment paper in a freezer bag.
- Reheat in a toaster or toaster oven for crisp results (avoid the microwave).
- Don’t decorate before freezing—add chocolate chips or icing after reheating.
- Batch cook on the weekend for quick weekday breakfasts.
These waffles reheat beautifully and keep their fun look and flavor!
Chef’s Helpful Tips for Pencil Waffles
Want to make your Pencil Waffles extra smooth and stress-free? Try these pro tips:
Here’s another great make-ahead recipe to simplify your week.
- Prep your colors ahead—divide and dye your batter before heating the waffle iron.
- Use gel coloring—a little goes a long way and keeps batter thick.
- Clean your waffle maker between batches if batter leaks or colors mix.
- Keep a toothpick nearby—it’s great for fixing small design smudges.
- Test one waffle first before making a big batch, just to get timing right.
- Add a note or tag if gifting to teachers: “Thanks for helping me stay sharp!”
These simple tricks will help you create fun, flawless waffles every time.
FAQ for Pencil Waffles
Can I use pancake mix instead of homemade batter?
Yes! Just follow the box instructions and divide it for coloring.
What kind of food coloring is best?
Gel-based food coloring works best for bold color without thinning the batter.
Pair this with another family-friendly recipe your kids will love.
Do I need a special waffle maker?
Nope! A standard one works fine. Rectangular shapes help the pencil design, but it’s not required.
Can I make them gluten-free or dairy-free?
Absolutely. Use a gluten-free blend or non-dairy milk like almond or oat.
How do I keep the colors from blending?
Use thicker batter and add it carefully with piping bags or spoons.
Can I make these ahead of time?
Yes! Freeze and toast them later—they’ll still look great and taste delicious.
Conclusion
Pencil Waffles aren’t just breakfast—they’re a back-to-school celebration on a plate. With simple ingredients, bright colors, and playful design, they bring fun to the morning routine and excitement to the table. Whether you’re making them for your kids, gifting them to teachers, or prepping a classroom treat, these waffles are a creative way to say “let’s start the year right.”
They’re easy to make, endlessly customizable, and freezer-friendly, making them perfect for busy school mornings. With just a little effort and imagination, you can turn an ordinary waffle into something memorable, fun, and delicious.
So go ahead—grab your waffle maker, whip up a batch, and turn breakfast into something sharp, sweet, and totally school-ready!

Back to School Breakfast Made Fun with Pencil-Shaped Waffles
Description
Turn ordinary waffles into a playful school-themed treat with these easy Pencil Waffles! Designed to look like real pencils, they’re fun for kids, festive for teachers, and super simple to make with colored batter and a waffle iron. A creative way to kick off the school year!
Ingredients
Instructions
Mix Batter: In a large bowl, whisk together flour, sugar, baking powder, and salt. In another bowl, combine milk, eggs, melted butter, and vanilla. Mix both until smooth.
Divide & Color: Split batter into 3 bowls. Add yellow food coloring to one (largest portion), pink to another (eraser), and brown/black to the last (pencil tip).
Heat & Prep: Preheat and lightly grease waffle iron.
Assemble in Waffle Iron: Pour brown batter first, then yellow, and pink last to mimic a pencil shape. Cook for 4–5 minutes until golden.
Decorate: Add a chocolate chip or pretzel at the tip for added pencil detail. Cool briefly before serving.
Notes
- Use piping bags or spoons for cleaner color layers.
Let kids decorate their own “pencils” for a fun breakfast activity.
You can freeze extras and reheat in a toaster—great for meal prep.
Gel food coloring is recommended for bold, non-runny results.
Perfect as a teacher gift when wrapped with a fun back-to-school note!

