

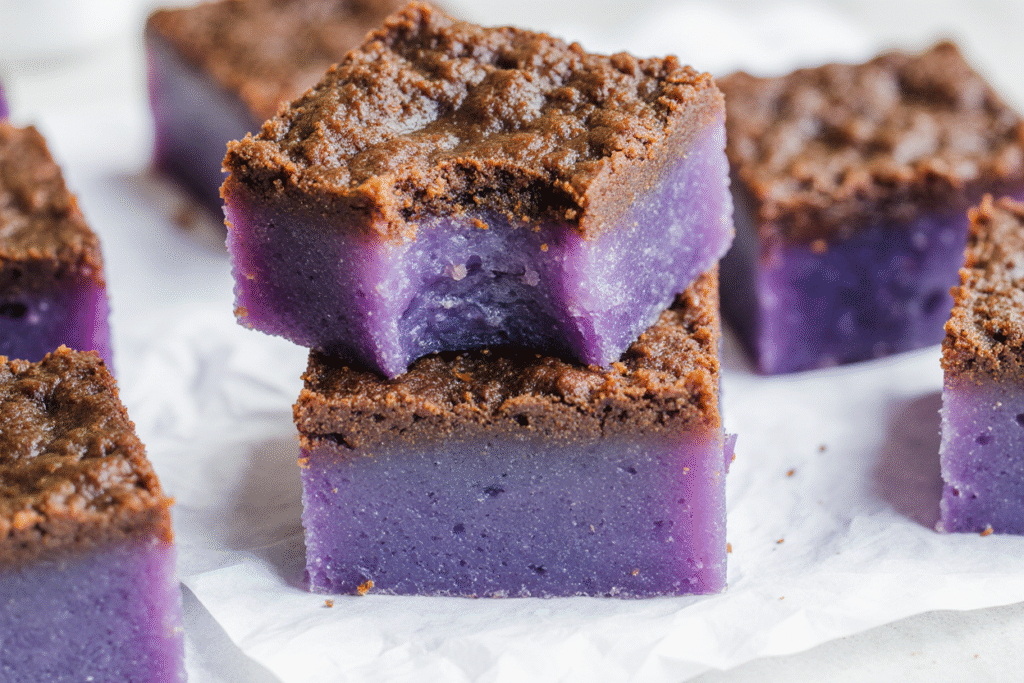
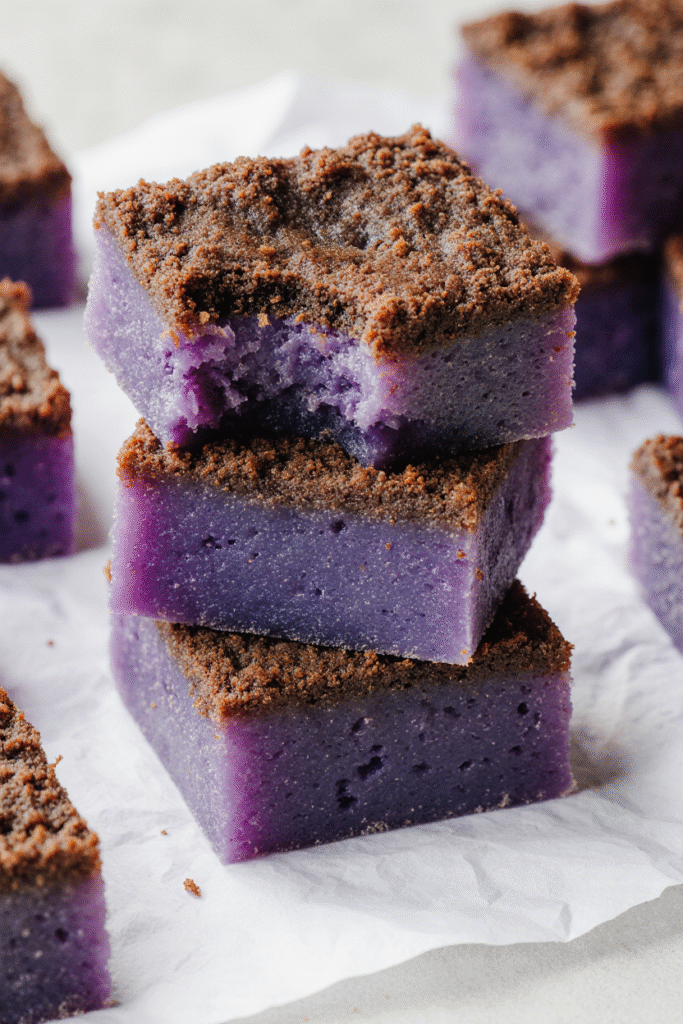
Ube Butter Mochi is a chewy, buttery dessert that combines the vibrant purple sweetness of ube with the soft, slightly elastic texture of mochi. This treat is visually stunning and full of flavor, making it perfect for weeknight indulgence or special occasions. Inspired by Filipino and Japanese desserts, it’s a simple yet impressive recipe that anyone can make at home.
The appeal of ube butter mochi lies in its balance of flavors and textures. The mochi provides a satisfying chew, while the butter adds richness and depth. Its naturally bright purple color makes it fun for kids and adults alike, and it’s entirely achievable with everyday ingredients from your kitchen or local grocery store.
This guide will take you step by step through making perfect ube butter mochi, offering tips on baking, storing, and personalizing your dessert. By the end, you’ll have a soft, chewy, flavorful treat ready to enjoy, share, and impress friends and family.
Why You’ll Love This Ube Butter Mochi
Ube Butter Mochi is more than just a dessert—it’s a combination of chewy texture, buttery richness, and naturally sweet ube flavor. Each bite is satisfying, with the mochi’s soft chewiness and the butter’s creamy taste creating a perfect balance that isn’t overly sweet.
The vibrant purple color makes it eye-catching and fun, while the flavors remain approachable for anyone new to ube. It’s versatile, too—cut into squares for parties, served as individual portions in jars, or sliced for dessert plates.
Even better, this recipe is simple to follow. With easy-to-find ingredients and clear instructions, both beginners and experienced bakers can achieve a perfectly chewy, flavorful mochi every time. Its texture, color, and buttery taste make it irresistible and perfect for sharing.
What You’ll Need
Making ube butter mochi is simple and requires just a few key ingredients that are easy to find in most U.S. grocery stores or Asian markets. The star of the dish is ube, which provides its vibrant color and naturally sweet flavor. You’ll also need butter for richness, sweet rice flour (mochiko) for that signature chewy texture, and sugar to balance the flavors.
Other essential ingredients include eggs for structure, coconut milk or whole milk to add creaminess, baking powder to help the mochi rise slightly, and a pinch of salt to enhance all the flavors. For optional toppings, consider grated coconut or a dusting of powdered sugar to add texture and presentation appeal.
With these ingredients, you’re set to create a dessert that is not only visually stunning but also full of chewy, buttery, sweet, and nutty flavors. Keeping these on hand ensures a smooth baking process with predictable, delicious results every time.
Ingredients List:
- 1 1/2 cups sweet rice flour (mochiko)
- 1 cup sugar
- 1 cup ube halaya (purple yam jam)
- 1/2 cup unsalted butter, melted
- 1 cup coconut milk (or whole milk)
- 3 large eggs
- 1 tsp baking powder
- 1/4 tsp salt
- Optional: shredded coconut or powdered sugar for topping
How to Make Ube Butter Mochi
- Preheat the Oven: Preheat your oven to 350°F (175°C) and lightly grease an 8×8-inch baking pan, lining it with parchment paper for easy removal.
- Mix Wet Ingredients: In a large bowl, combine the melted butter, ube halaya, coconut milk, and eggs. Whisk until smooth and fully incorporated.
- Combine Dry Ingredients: In a separate bowl, mix the sweet rice flour, sugar, baking powder, and salt. Gradually add the dry mixture into the wet mixture, stirring until smooth. The batter will be thick but pourable.
- Bake: Pour the batter into the prepared pan and smooth the top. Bake for 50–60 minutes, or until the edges are lightly golden and a toothpick inserted in the center comes out clean.
- Cool and Serve: Let the mochi cool completely in the pan before cutting into squares. Optionally, sprinkle with shredded coconut or powdered sugar for added texture and presentation.
This process ensures your ube butter mochi comes out perfectly chewy, flavorful, and visually striking, ready to be enjoyed as a snack, dessert, or party treat.
You Must Know
Before diving into making ube butter mochi, there are a few essential tips to ensure success. First, the quality of your ube halaya matters. Using a good-quality, smooth ube jam will give your mochi a vibrant color and authentic flavor. If fresh ube is available, you can steam and mash it, but store-bought halaya works perfectly and saves time.
Second, sweet rice flour (mochiko) is key to achieving that signature chewy texture. Using regular rice flour won’t give the same elasticity, so make sure to grab mochiko from an Asian grocery store or online. Measuring ingredients accurately is also important, especially flour and liquid, to prevent a batter that’s too runny or too dense.
Oven temperature and baking time are another factor to note. Every oven varies, so check for doneness by inserting a toothpick into the center—the mochi should be set but still slightly sticky inside. Overbaking can make the edges dry and the inside less chewy.
Lastly, patience is vital. Mochi tastes best once fully cooled, allowing the texture to set perfectly. Cutting it too soon may result in a sticky mess. Optional toppings like coconut or powdered sugar should be added only after the mochi has cooled to maintain presentation.
Perfecting the Cooking Process
Perfecting ube butter mochi is all about mastering the texture and flavor. The key is to balance the wet and dry ingredients carefully. Too much liquid can make the mochi too soft and sticky, while too much flour can result in a dense, heavy dessert. Always mix gently but thoroughly to ensure even distribution of ube and butter throughout the batter.
Baking evenly is critical. Using a parchment-lined pan not only prevents sticking but also helps the mochi cook uniformly. Placing the pan in the center of the oven ensures even heat distribution. If your oven has hot spots, consider rotating the pan halfway through baking.
The perfect mochi has crispy edges with a chewy, soft center. Achieving this requires baking at the right temperature and watching the mochi closely as it nears the end of the baking time. Removing it too early may result in a gooey center, while overbaking can dry out the edges.
Finally, let the mochi cool completely in the pan. This step allows the flavors to meld and the texture to firm up slightly. For extra flavor, some bakers brush the top with melted butter after baking, enhancing richness and giving it a shiny finish. Following these techniques ensures that your ube butter mochi comes out perfectly every time—chewy, buttery, and irresistibly sweet.
Add Your Touch Ube Butter Mochi
Ube butter mochi is easy to personalize. Add toasted coconut, chopped nuts, or white chocolate chips for extra texture and flavor. Swirl in a little vanilla or coconut extract to enhance aroma, or fold in diced fruits like mango for a tropical twist.
Presentation matters too—serve in small squares, bite-sized cubes, or mini jars for parties. A light dusting of powdered sugar or edible flowers can make your dessert visually stunning while keeping it chewy and flavorful.
Storing & Reheating
Try these simple yet impressive dishes
Store cooled mochi in an airtight container at room temperature for 2 days, or refrigerate for up to a week. To reheat, steam for 5–10 minutes or microwave in 15–20 second intervals until soft.
For longer storage, freeze individually wrapped pieces. Thaw overnight in the fridge and warm gently. Proper storage keeps your mochi chewy, flavorful, and ready to enjoy anytime.
Chef’s Helpful Tips for Ube Butter Mochi
- Use quality ube halaya for vibrant color and authentic flavor.
- Measure ingredients carefully—too much liquid or flour can affect texture.
- Mix gently but thoroughly to avoid lumps and ensure even flavor.
- Check doneness with a toothpick; edges should be golden, center slightly sticky.
- Cool completely before cutting to maintain chewiness and shape.
- Optional: brush with melted butter for extra richness and shine.
FAQ for Ube Butter Mochi
Q: Can I use fresh ube instead of ube halaya?
A: Yes! Steam, peel, and mash fresh ube for the same vibrant flavor.
Try this family-favorite dessert next
Q: Can I make this gluten-free?
A: Mochiko (sweet rice flour) is naturally gluten-free, so this recipe already works for gluten-free diets.
Q: How long does mochi stay fresh?
A: Room temperature for 2 days, refrigerated for up to a week, or frozen for up to a month.
Q: Can I add other flavors?
A: Absolutely! Vanilla, coconut extract, or small fruit pieces work beautifully.
Conclusion
Ube Butter Mochi is a visually stunning, chewy, and buttery dessert that’s simple to make yet impressive to serve. Its vibrant purple color, unique texture, and sweet, nutty flavor make it perfect for family treats, parties, or gifting.
With this guide, you now have all the tips and tricks to bake perfect mochi—whether you follow the classic recipe or add your personal touch. Store, reheat, and enjoy it anytime for a sweet, chewy delight that never fails to impress.
The Best Ube Butter Mochi You Can Make at Home
Description
Chewy, buttery, and naturally purple, this Ube Butter Mochi is a colorful treat perfect for dessert nights or special occasions. Easy to make with simple ingredients, it’s soft, sweet, and irresistible.
Ingredients
Instructions
Preheat Oven: 350°F (175°C). Grease an 8×8-inch pan and line with parchment.
Mix Wet Ingredients: Combine butter, ube halaya, coconut milk, and eggs until smooth.
Combine Dry Ingredients: Mix mochiko, sugar, baking powder, and salt. Stir into wet mixture until smooth.
Bake: Pour batter into pan. Bake 50–60 minutes until edges are lightly golden.
Cool & Serve: Let cool 15 minutes before cutting. Optionally, top with shredded coconut or powdered sugar.
Notes
- Use good-quality ube halaya for vibrant color and flavor.
Mochiko is essential for chewy texture—don’t substitute regular rice flour.
Let mochi cool completely before cutting for best results.
Store in an airtight container at room temperature (2 days) or refrigerate (up to 1 week).